
loongcat40 (gasket mount + OLED, a new chapter)
I'm back babyyyyy
Purpose:
Talk about where I've been. Discuss my latest creative endevour, the loongcat40. Talk about interesting technical findings. Outline the new general direction I want to head towards.

Background:
It's been a while since I've posted to this blog, with my latest posts being the contest I hosted, as well as the $5 idawgz32. I've been playing around with a few other out-there ideas in the background, but in general I hit a bit of a creative lull. My last wave of keyboards produced came from a place of excitement of making the smallest keyboard possible, and I think the limits of what's possible with the idawgz32. I couldn't really make a smaller keyboard, only due to the fact that my fingers were basically physically pinching together. This effectively was a creative wall, since if my goal was to make the smallest "viable" keyboard, then I've basically hit it. This effectively put a creative end to my current interests and kicked off an unintentional hiatus.
What brought me back to the hobby though was the Github traffic I was getting on one of my oldest projects, the banime40.
It seemed that my gasket mounted 4x10 MX spaced ortholinear keyboard from 4 years ago had picked up some steam, particularly within the Japanese keyboard community. It was very inspiring seeing more people pick up a design I worked on long ago. At the same time, I knew that I had learned so much more since then. My ability to use CAD, KiCad, and basic firmware was significantly better than it was back then. I'm am also painfully aware of some of the design flaws that the banime40 has. In my opinion, one of the worst design choices was that the top of the case required superglueing nuts into it to give it threaded holes. This process was tedious, messy, and inaccurate. I also didn't like how the bottom of the case exposed the ProMicro controller.
As an indirect way of thanking people for using my design, I decided to create a better version with what I know now.
Design
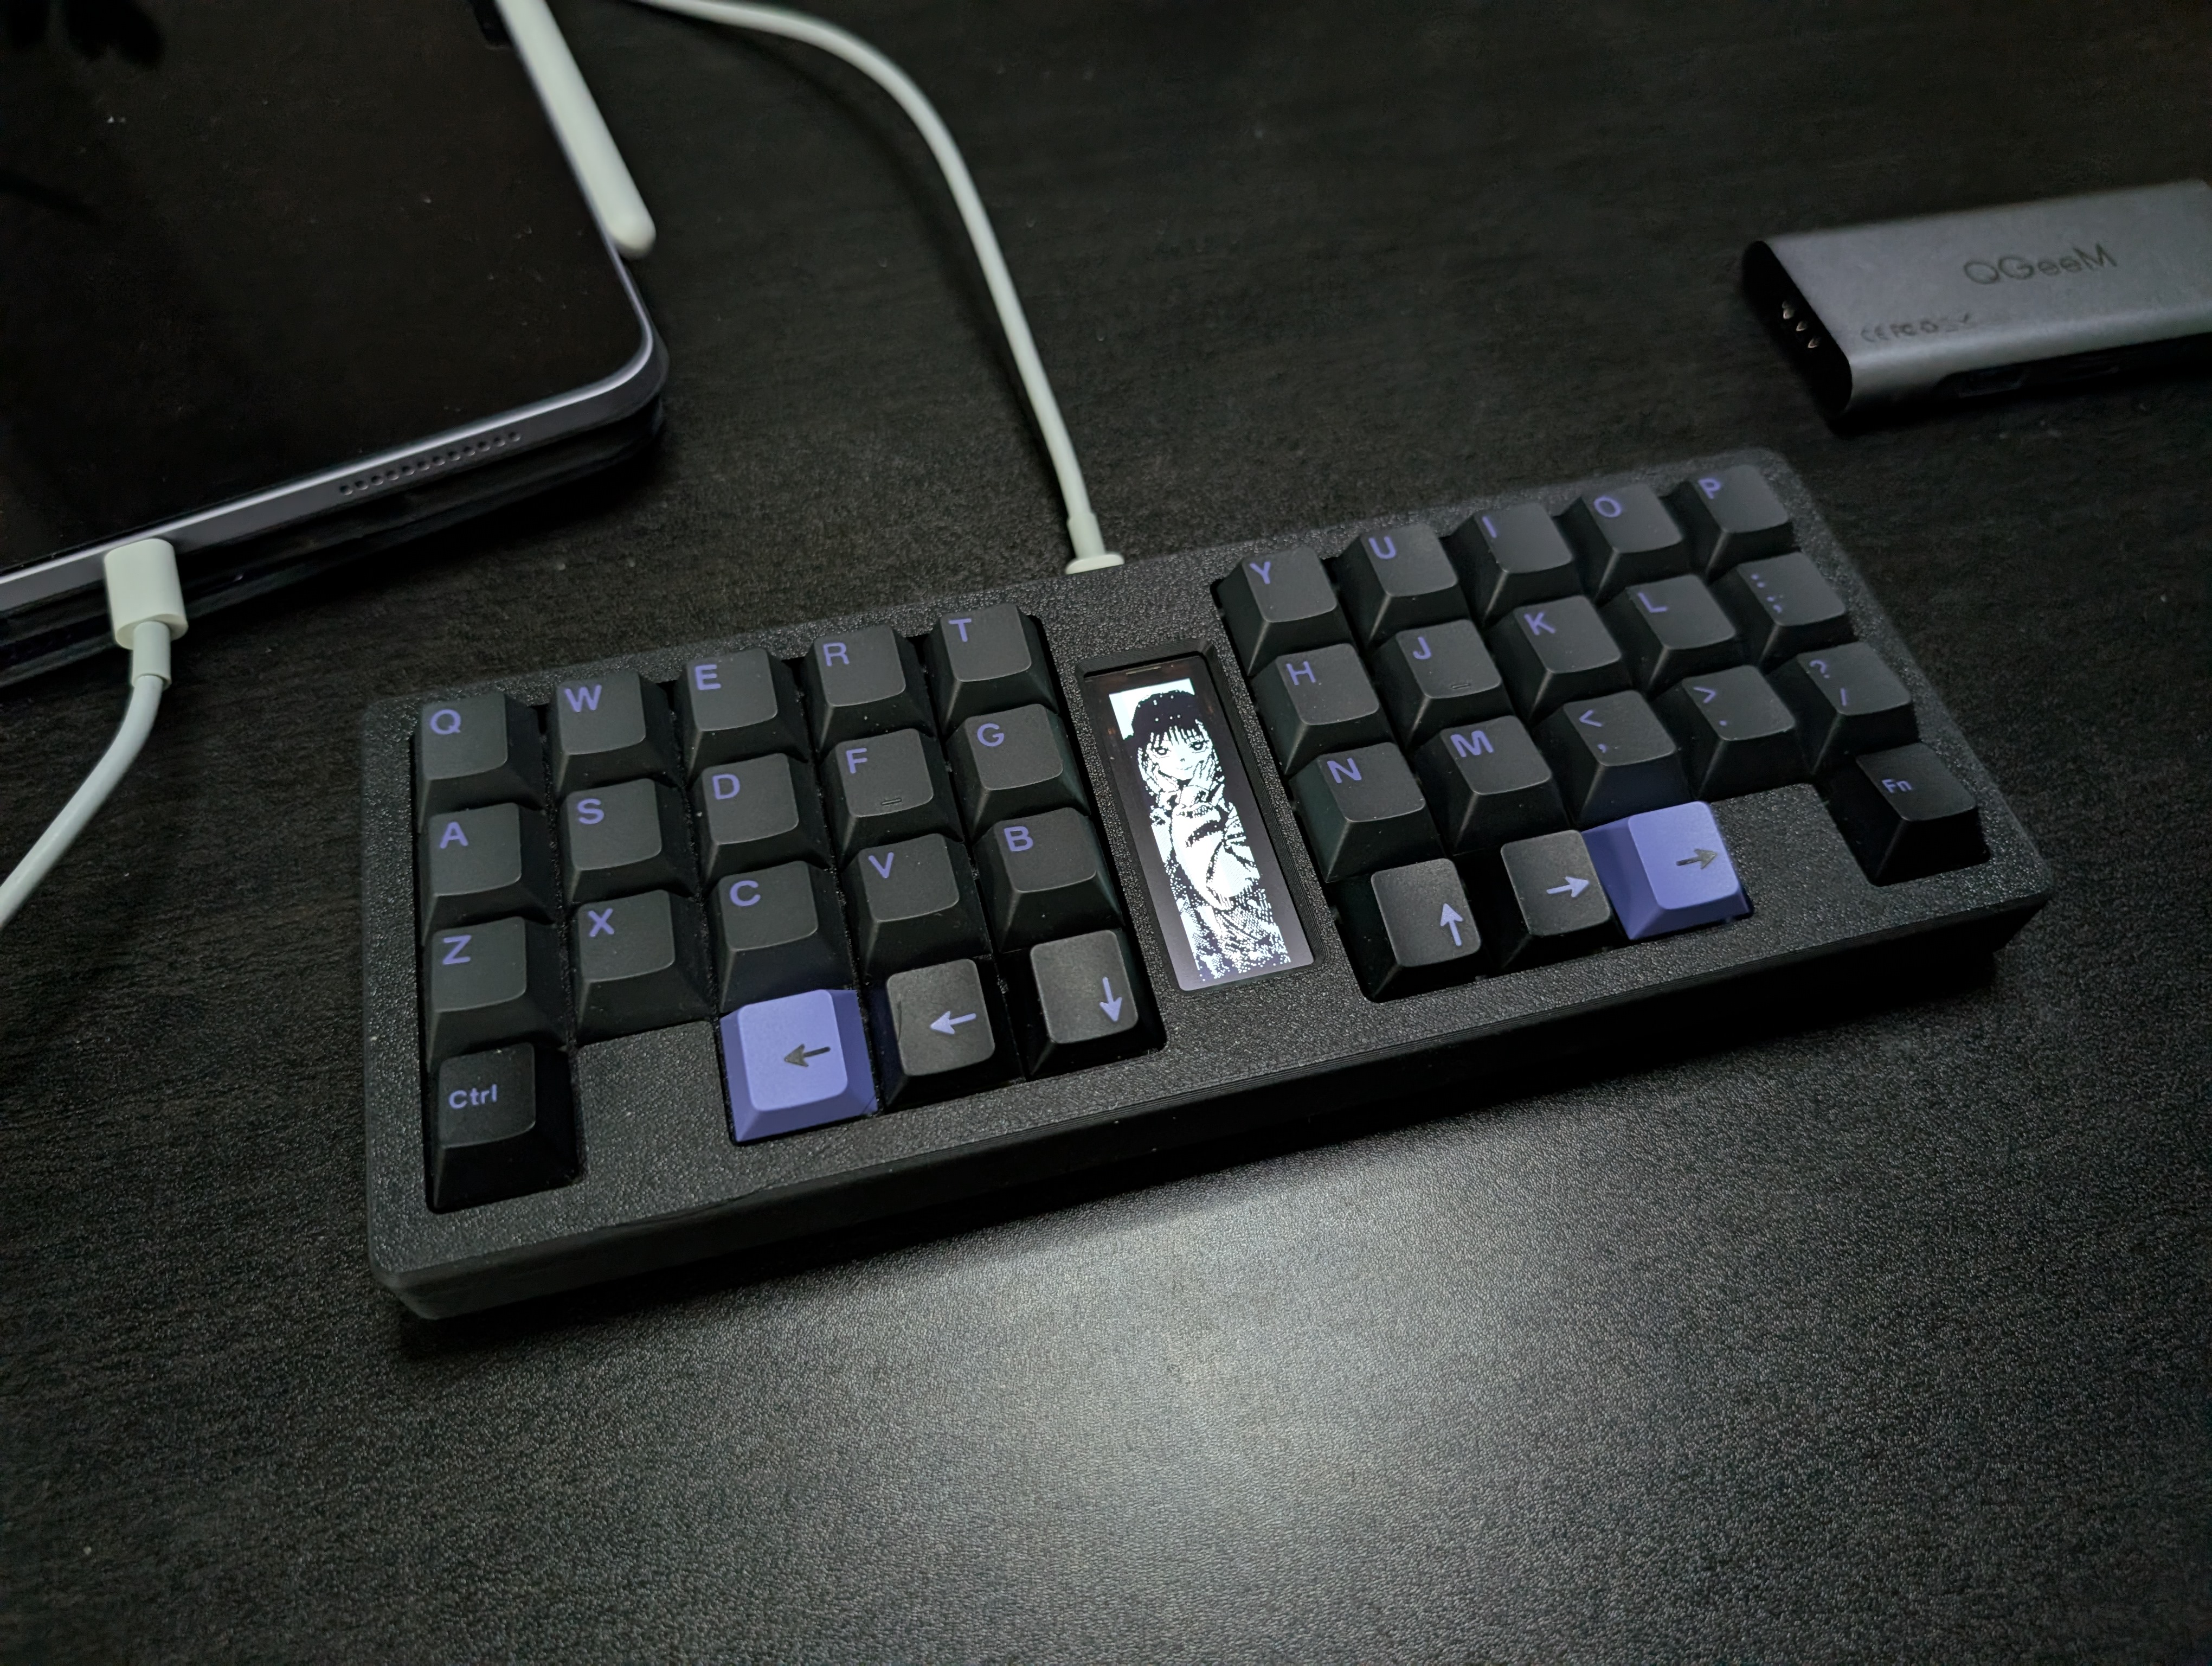
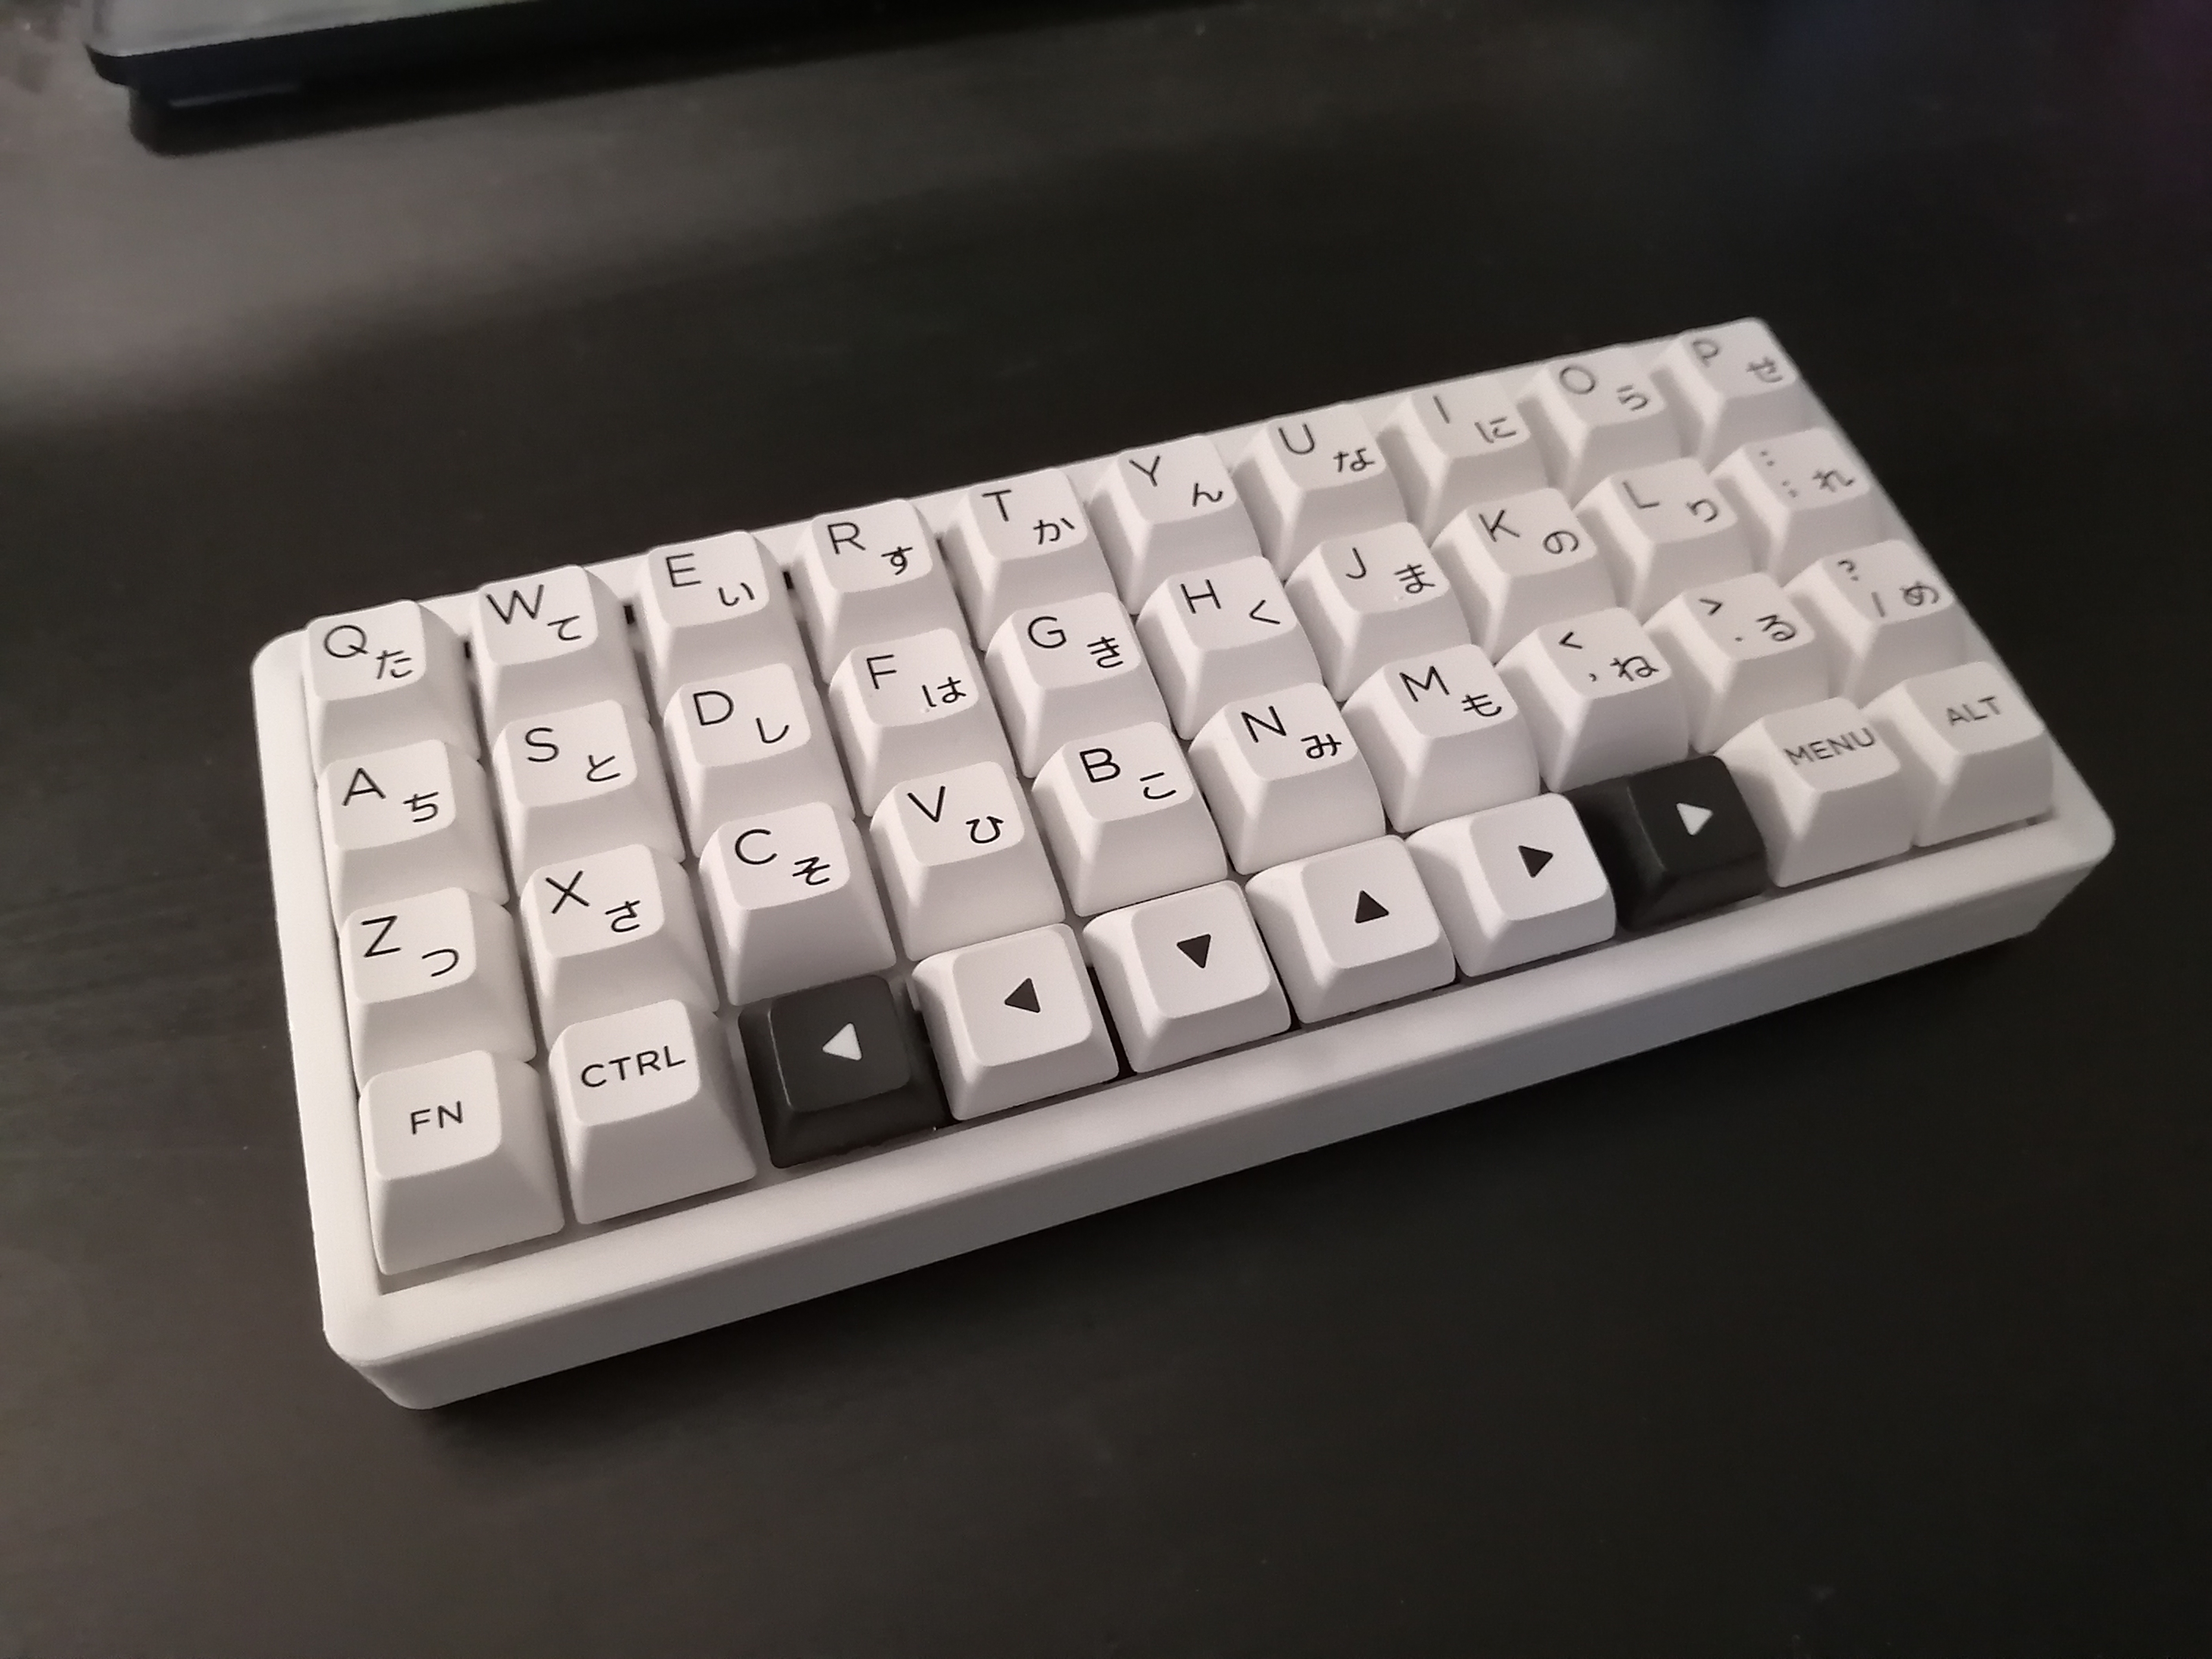
My new keyboard, the loongcat40, has many similar traits to the banime40 that preceeded it. The loongcat40 features gasket mounting and supports multiple different layouts, in that 2U spacebars and 1U blockers were supported.
.
As improvements, the loongcat40 now features a central SH1122 OLED as a display piece, and uses a Raspberry Pi Pico instead of a Pro Micro. This borrows some design cues from the keezyboost40, another relatively popular design I've worked on. The Raspberry Pi Pico allows the keyboard to be more compact than a Pro Micro (thanks to it's castellated pins), makes the BOM cheaper, and the increased memory of the Pico allows for several images to be stored and loaded on the OLED, much more than a Pro Micro would allow for. The keyboard also features custom artwork by <>. To the best of my knowledge, no QMK/ZMK keyboard up to this point has ever used an SH1122 OLED before.
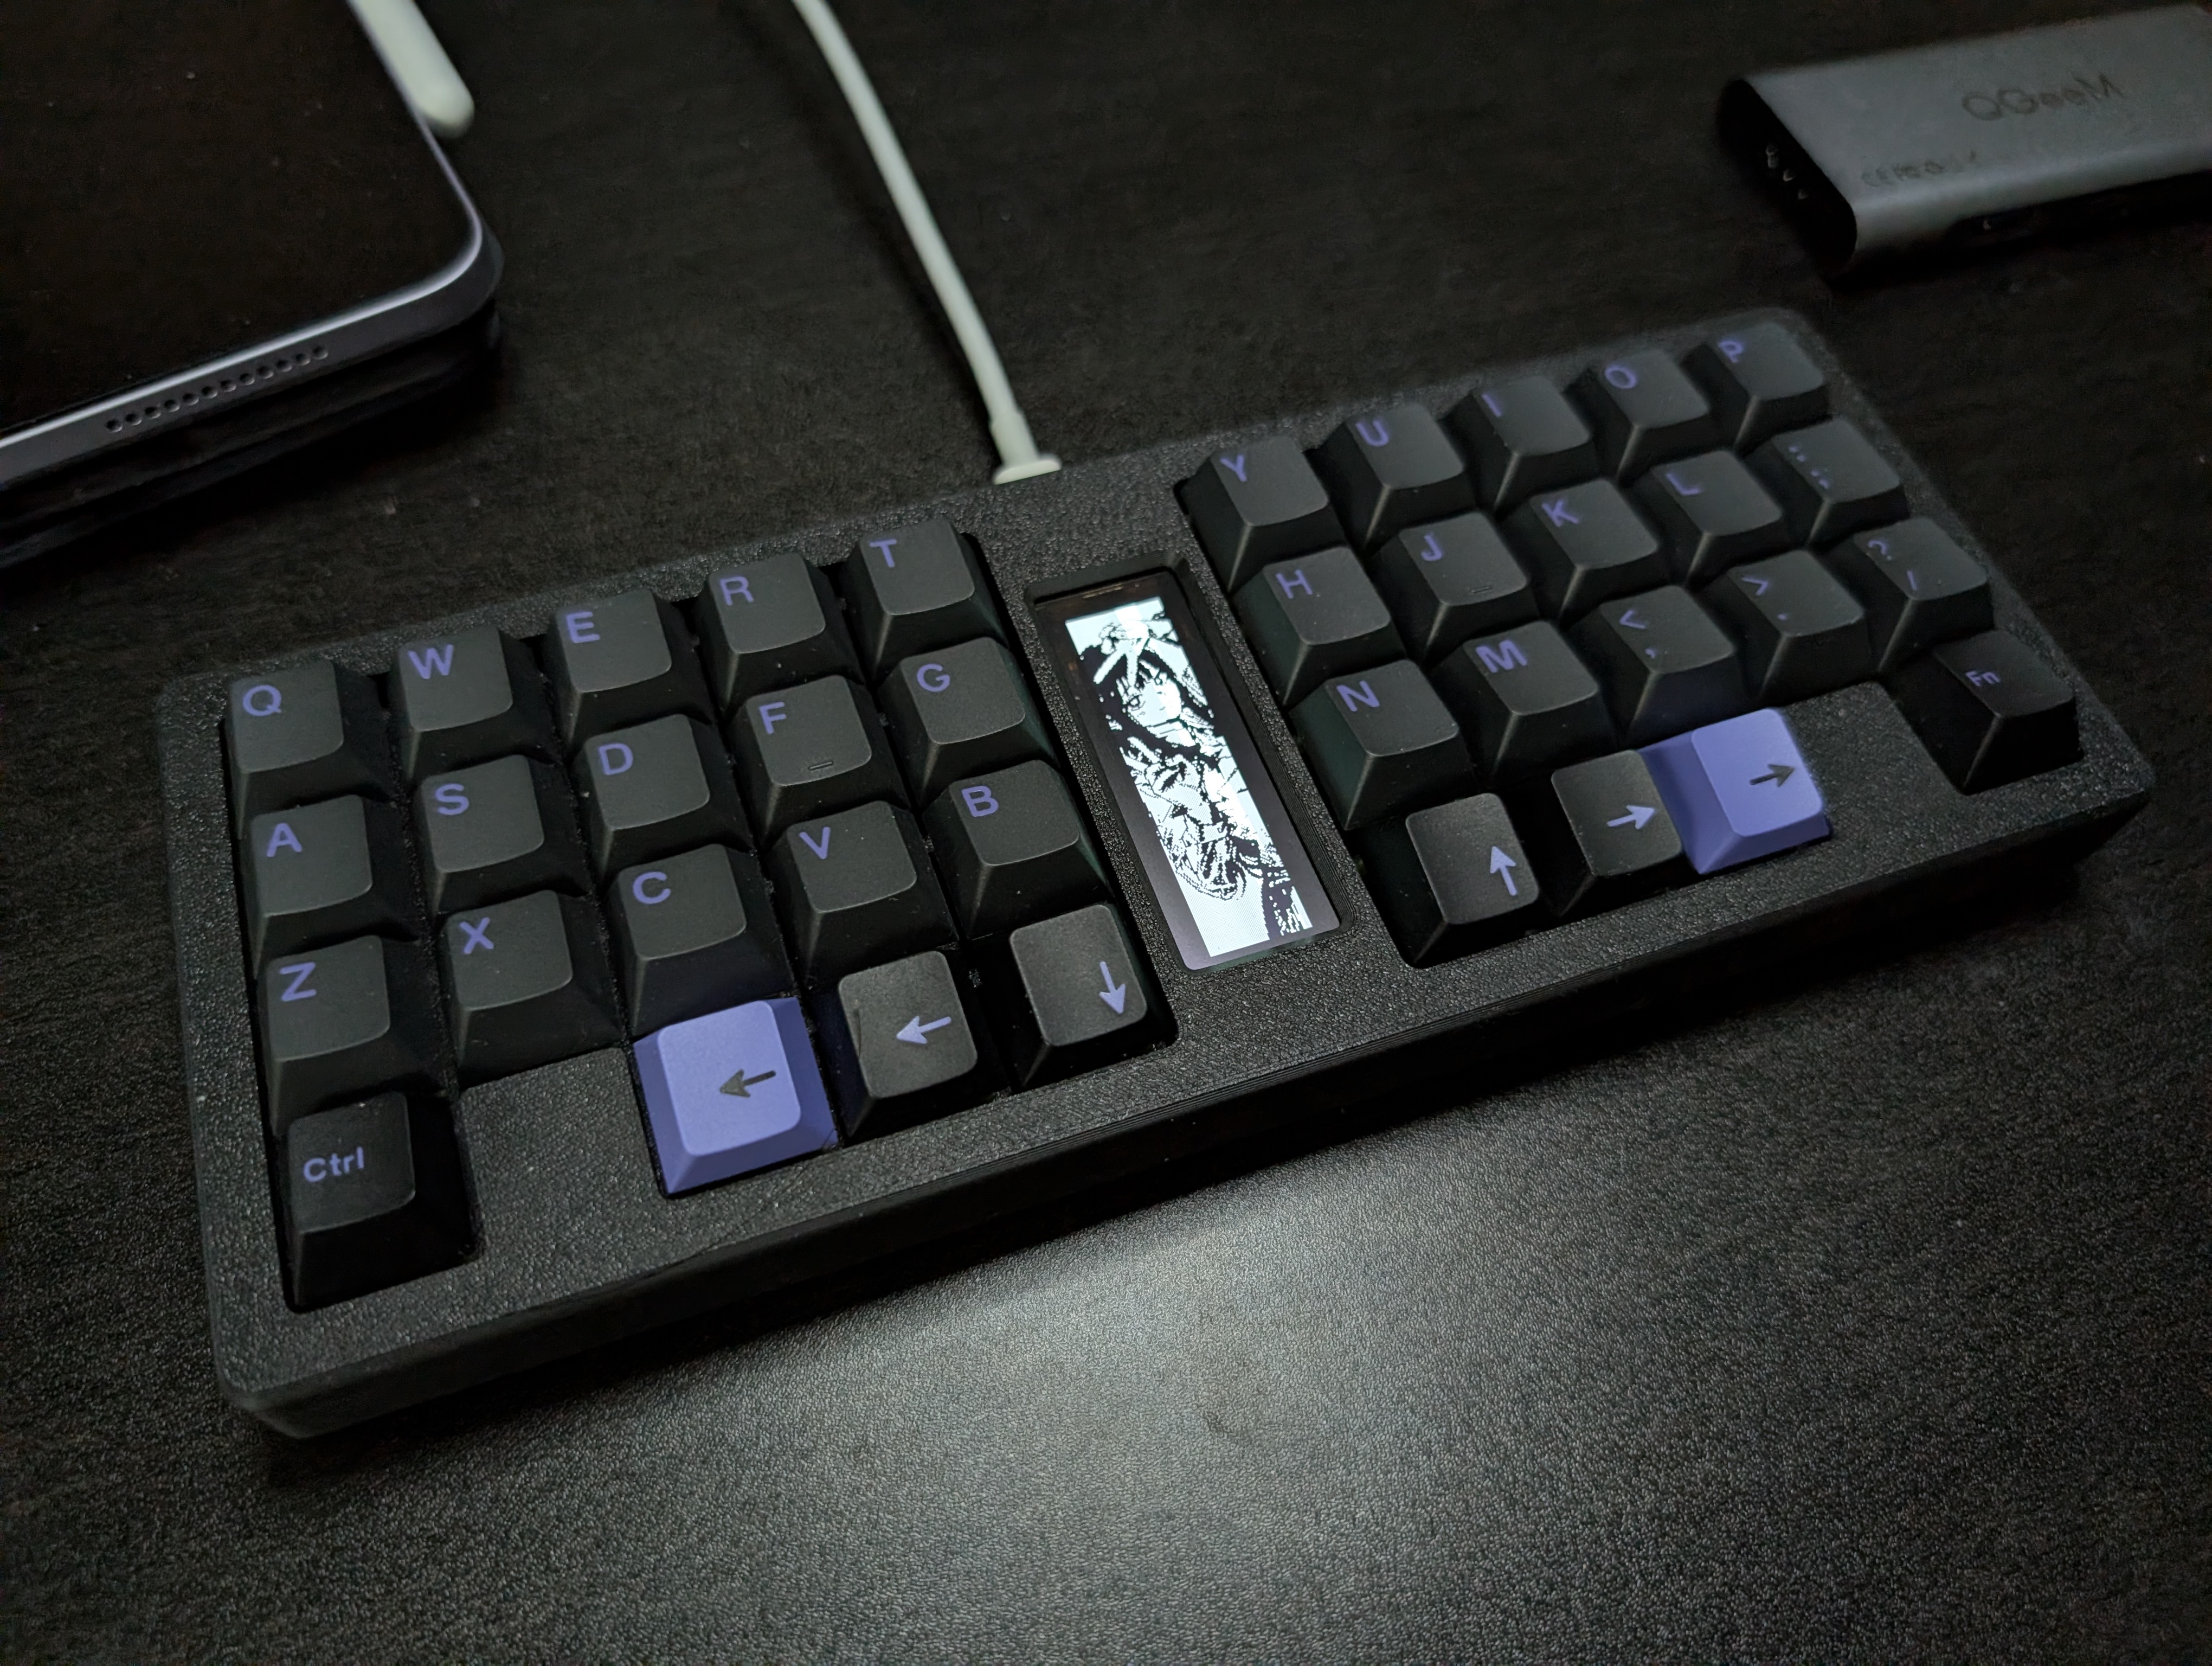
The keyboard also has keys that can cycle through different images on the keyboard. All the OLED images you see come from a single firmware binary.
Interesting learnings and challenges
This project was interesting to me for 2 reasons:
1. I was "forced" to use FreeCAD
2. I was "forced" to "learn" how to write display driver firmware
"Forced" to use FreeCAD
I've recently switched back to using a desktop linux machine from a mac machine. This switch however, has prevented me from using Fusion, which up to this point had been my CAD software of choice. I tried some hacks that attempted to run Fusion on linux, but with little luck. This meant that I'd have to pick up and learn FreeCAD if I wanted to use a CAD software that was linux compatible and supported STEP files (in case I ever wanted to CNC anything.
In truth, I've kind of dreaded using FreeCAD. Whenever I read up on it, I kept hearing stories of it being fairly buggy due to TNP. I also kept hearing how it roughly took twice the amount of time to design something compared to FreeCAD due to it's fairly bad UI. The two complaints made me worry about sinking any amount of time into learning FreeCAD.
After spending several hours learning and using FreeCAD 1.0+ for this project, I can safely report that my concerns were either misguided or have been resolved completely.
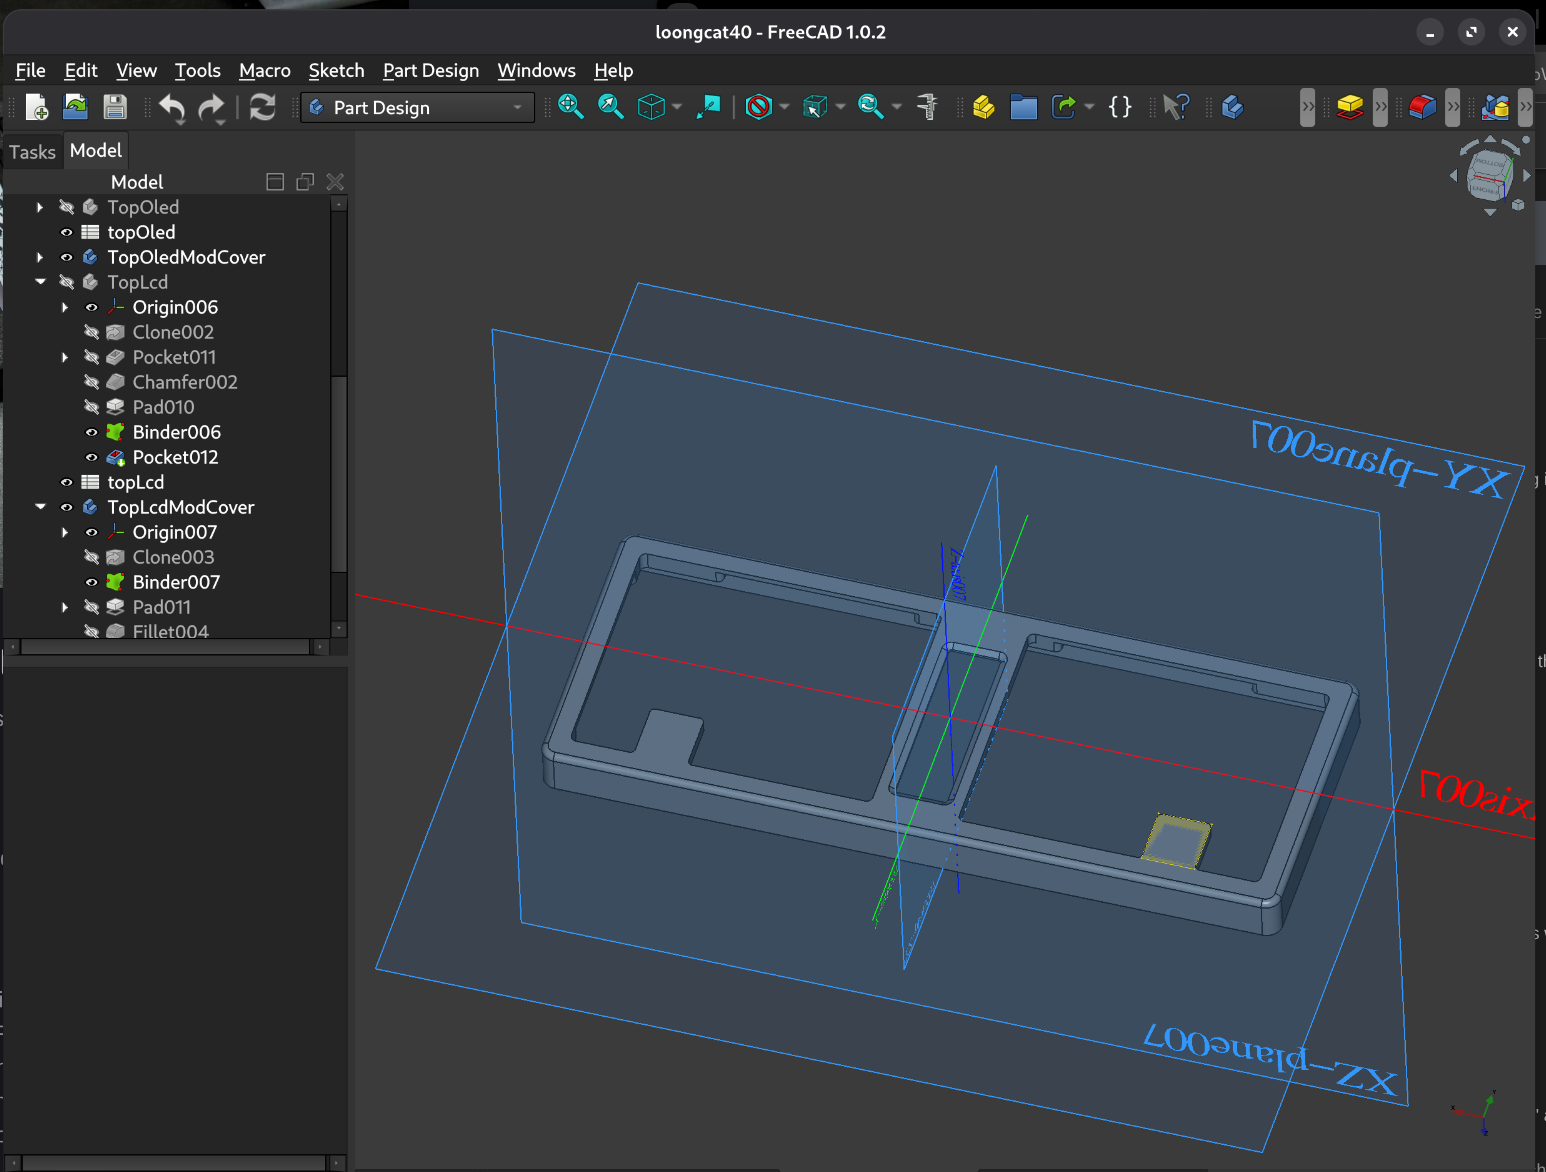
FreeCAD certainly is more strict than Fusion is. One common complaint is that you can't easily make multiple extrusions out of the same sketch. As a result, I had to change my traditional workflow of building keyboard cases. Another observation that was a bit of an annoyance was that FreeCAD would make it clear and obvious if you didn't perfectly constrain your sketch. This made me feel obligated to specify every single dimension and constrint within my sketch, something I didn't feel when a rapidly prototyped something in Fusion.
However, after watching a tutorial or two from MangoJelly, once I got a hang of the workflow that FreeCAD expected of me, it felt relatively natural to use. I also think FreeCAD's insistance that I constrain everything helped me considerable when I had to make adjustments to my design. Nine times out of ten, if I needed to tweak a measurement, the model updated exactly how I would expect it to. The one time out of ten was when I set up my constraints incorrectly.
TNP also wasn't much of an issue, thanks to improvements added in FreeCAD 1.0, and thanks to having a workflow that worked reasonably nicely with FreeCAD (which generally extruding from a sketch and making progressively smaller modifications to the extrusion to add features in).
It did take more time than Fusion would, primarliy due to it's insistence on constraints, though I suspect the model I've created is much more flexible to parameter tweaks than had I made it in Fusion (only because Fusion lets you get away with more in the short term).
Overall, I'm fairly happy with FreeCAD for what I used it for, and I think I'll use it more for future projects.
"Forced" to "write" display driver firmware
Another interesting part of the project was the inclusion of a SH1122 OLED driver. QMK painter, a feature that allows users to easily draw images to a multitude of displays, does not support the SH1122 OLED driver. Writing firmware to support a new driver was a new task for me, and previously one that I am quite bad at. I code professionally, though working with production C code is something I do very little of.
However, two things helped immensly when making support for the SH1122 driver:
1. The u8g2 library, a library that supports a _very_ wide range of different display devices
2. The use of Claude/Cline
Using Claude proved to be extremely helpful as it was able to cross reference what was done for other OLED drivers within the QMK library against how the u8g2 library worked with the SH1122 driver, and with some massaging, code was produced that allowed QMK painter to work with the SH1122 driver.
Claude also help me write up a feature that allows the OLED image to be cycled with a press of a button. Ultimately I guided what the feature would look like, but as someone less familiar with C gotchas, Claude proved to be a very nice set of training wheels.
I'm incredibly happy with this result, since it basically helped me get more familiar with writing more "lower lever" firmware code, or atleast QMK code that wasn't basic configuration. I'm excited to try Claude on Zephyr/ZMK in the near future, as I suspect it'll help me learn and understand the Zephyr framework exponentially faster than me combing through the documentation.
NOTE: For anyone considering merging the SH1122 driver into mainline QMK:
1. Thank you very much o7
2. The SH1122 driver doesn't yet support QMK painter rotation operations, and only supports 2 tone greyscale (i.e. only black and white). Ideally the driver should support rotations as well as 16 tone greyscale, since the OLED IS capable of doing so.
Result

This project has been a great re-entry back into the hobby. I'm really happy that I've made something that I feel is an improvement on some of my older designs and then some. It was also incredible being able to feature an artist's work in my project. It feels very gratifying being able to feature and showcase artwork I really enjoy, and I'm really happy that I got to be a small part of a larger creative effort.
Going forward, I plan to make more keyboards with displays in the center, and I hope I can continue to showcase the talent of the artists who I know. I'm really excited to show you all what's in store.
Acknowledgements
Big thank you to NextPCB for making this project possible by providing me the PCBs for this project.

And a big thank you to NextPCB, BeeKeeb, and kurihara for sponsoring me on Github and ko-fi! This project took a considerable amount of resources, especially when printing prototypes for the case, as well as for writing the firmware. This project was made possible with all of your support.
Another very large thank you to @suh_ga for allowing me to feature their artwork you see on the OLED. The art made greatly surpasses what I would have wanted, and it's an honour to be able to share and showcase their art through this project. The loongcat40 firmware comes with this art pre-installed for everyone to enjoy.