

idawgz32 (how I made a keyboard for only $5)
Purpose
Discuss design considerations when designing a cost optimized keyboard. Showcase my newest keybaord, the idawgz32, as well as talk about the pros and cons of the board. Discuss my experience using FAK.
Preface
There's been a huge wave of keyboards using the CH552 microcontroller following the release of the FAK keyboard firmware. The two biggest advantages to the CH552 over similar other MCUs is that they only cost a mere $0.69 CAD, in addition to the fact that it doesn't require any external crystals, voltage regulators, or flash modules, making it even more cost effective and simple to design for. To quote the creator, semickolon:
I live in a country where Pi Picos and Pro Micros are not considered cheap. When I began the search for making keyboards as cheap as possible, I discovered CH55x chips which are much cheaper. RP2040 needs an external QSPI flash. ATmega32U4 needs an external clock. As for the CH55x however, all you need to get it running is the chip itself and two capacitors. You can get a complete MCU for less than a dollar.
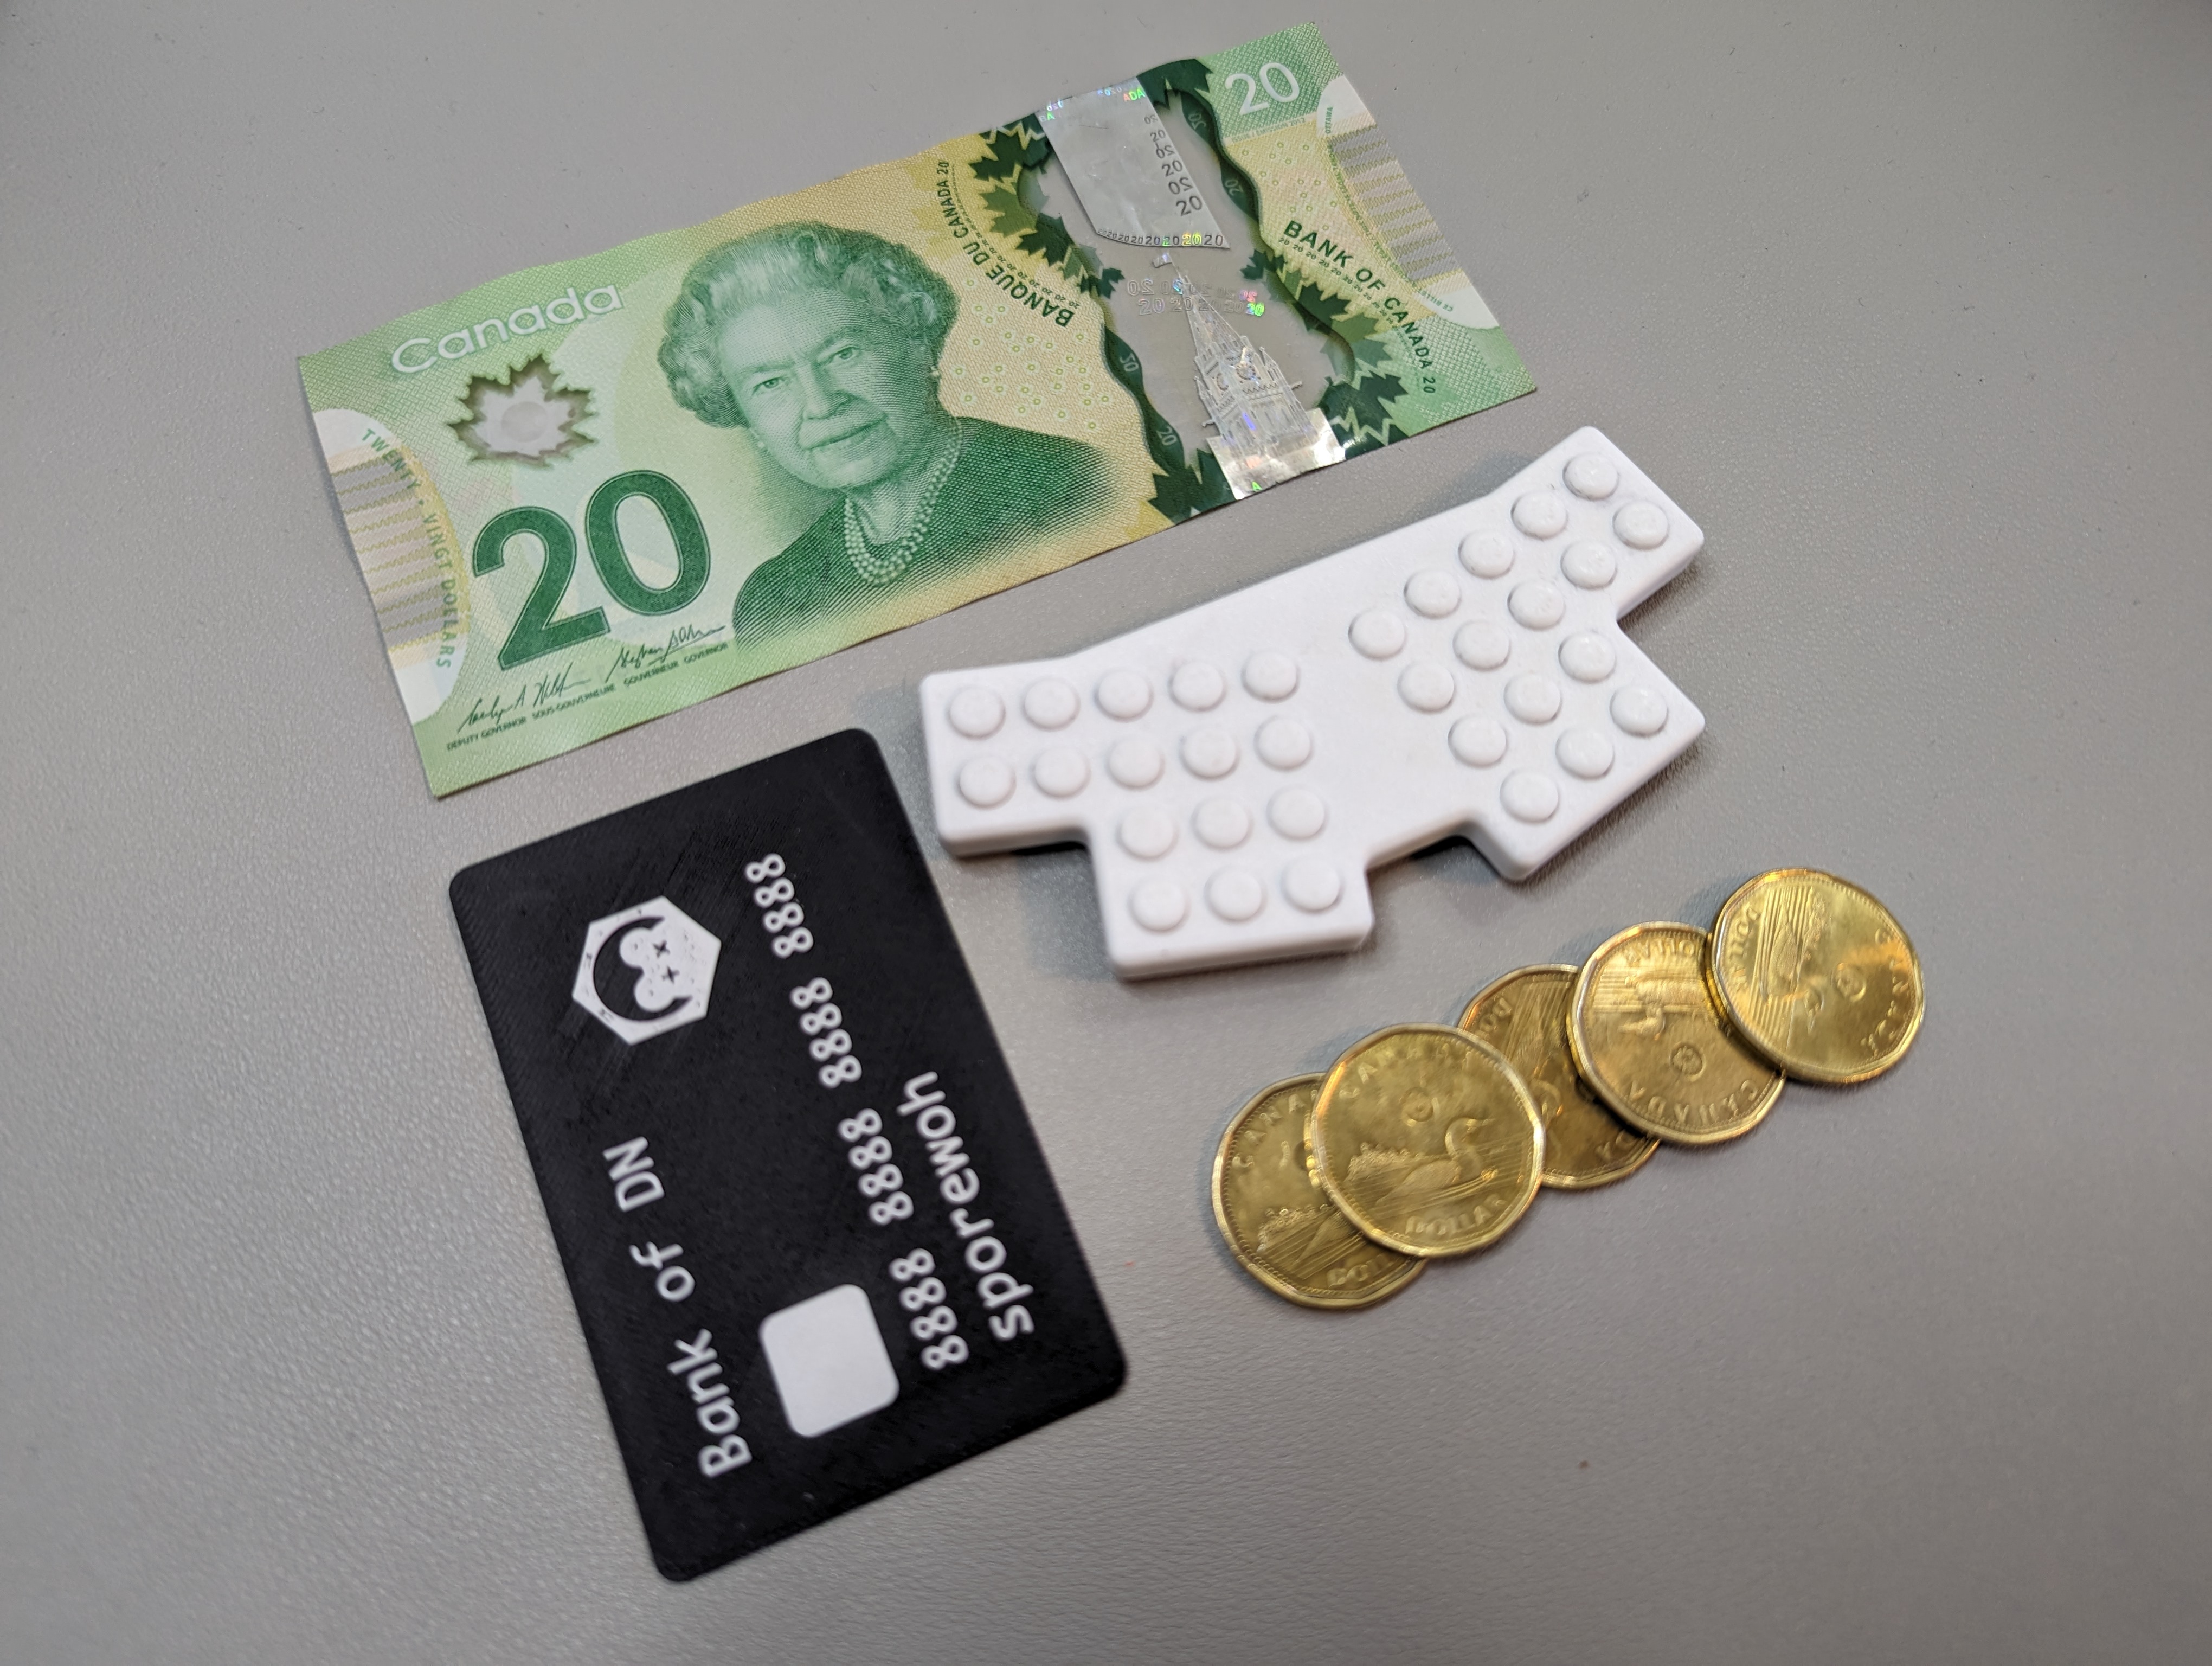
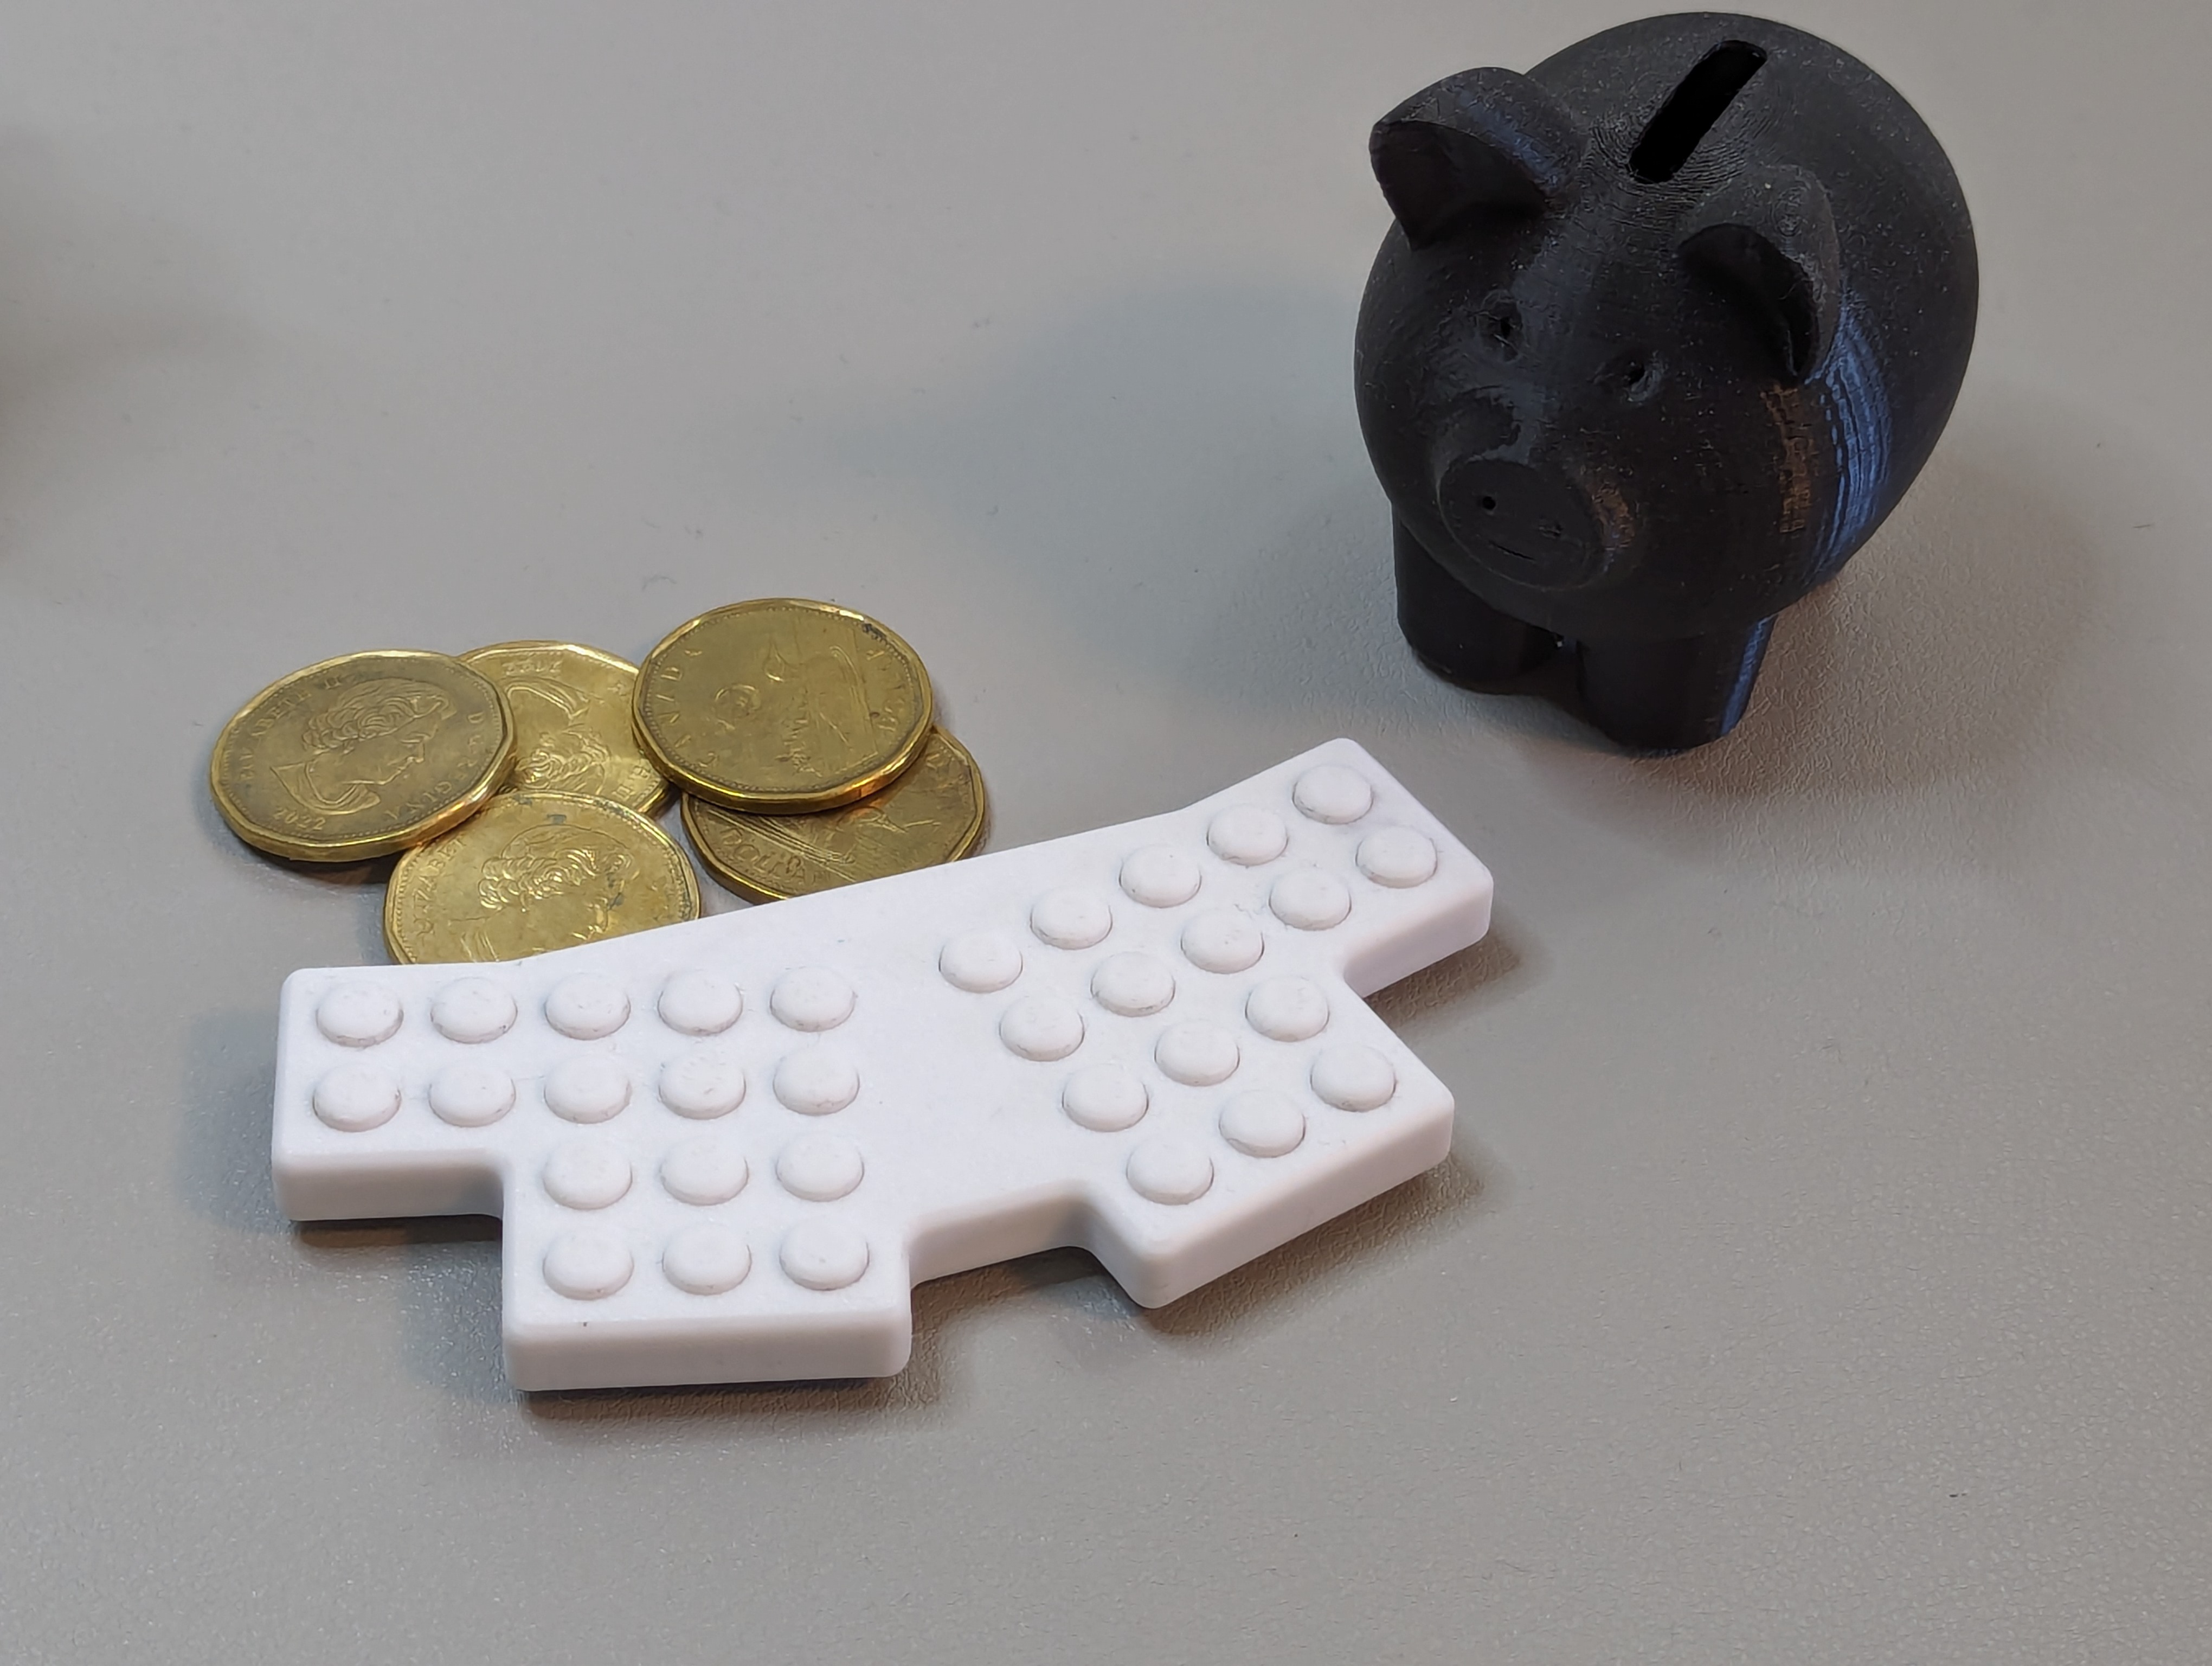
The idea of large cost savings got me excited with the idea of making a board so cheap that I could give it away for free as a small gift at meetups or the like. As such, I wanted to see if I could make a board, switches and all, that roughly targeted the $5-$6 price range. I also thought it would be fun to give away a board roughly the size of my pusheenz40, since it's size was close to that of a business card.
Research
I wanted to make sure I was optimizing in the right places, since one of the greatest sins of a engineer is prematurely optimizing or optimizing for the wrong metric. I therefore did a rough cost calculation pie chart of my recent pusheenz40 to understand where most of the cost was coming from.
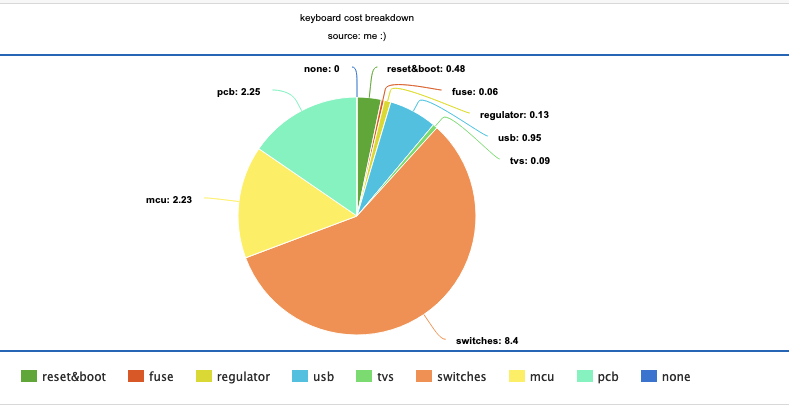
The pie chart made it clear that the switches, the pcb, and the stm32 mcu all took up a considerable amount of cost, and could stand to be optimized. This pie chart also confirmed to me that there was some value in swapping over the MCU, since it meant I could save roughly ~$2 CAD both on the MCU and the voltage regulator, which is a significant portion of money if I was to target a price of $5.
Another interesting observation was that the switches were the dominant factor in the price of the pusheenz40, which I thought was interesting.
In order to target a hyper affordable keyboard, I made the following high level changes to the pusheenz40:
- Make the key spacing 9mm x 9mm
- This was to make the pcb fit within 100mm x 100mm, since JLCPCB gives a special deal for pcbs that size or smaller. Anecdotally speaking the special deal is material, since it roughly halves the cost of the pcb, at least when compared to boards slightly over 100mm x 100mm.
- Swap to using a regular USB C port over a mid mount USB C port
- The mid mount USB C costs considerably more, and requires standard PCBA (over economy PCB) from JLCPCB.
- Use the CH552T MCU
- Saves roughly 2 dollars as mentioned previously.
- Use G-Switch GT-TC063F-H035-L30 SMD switches
- These switches were slightly cheaper than the panasonic EVQP0N02B smd switches I previously used and very cheap at $0.17 CAD a switch. Also EVQP0N02B switches are sold out and need to be pre-ordered :(
- These switches will come to haunt me :(
- Remove TVS protection and fuse
- Somewhat controversial, but I wanted to see if I could get away with omitting said protection components, since I noticed some CH552 dev boards also lacked protection components.
- After some consultation in the Low Profile Keyboards discord, it seemed like omitting the fuse might be okay given the current draw of the other components, though having a TVS diode was something that was recommended to leave in.
- In future designs, I plan to add the TVS diode back in just to err on caution, especially given how cheap it is relative to the rest of the components.
- After some consultation in the Low Profile Keyboards discord, it seemed like omitting the fuse might be okay given the current draw of the other components, though having a TVS diode was something that was recommended to leave in.
- Somewhat controversial, but I wanted to see if I could get away with omitting said protection components, since I noticed some CH552 dev boards also lacked protection components.
- Reduce the amount of keys down from 40 to 32
- The pie chart made it clear that the majoriy of the cost of a keyboard is in it's switches. As such, reducing the amount of switches by 8 saved 8*$0.17 = $1.36 dollars.
- I thought 32 keys was an ideal number for a sub-40 key keyboard, since I could have 26 keys for the full alphabet, in addition to 6 thumb keys.
After the following optimizations, the theorhetical cost pie chart became the following

With fairly aggresive optimizations, I was able to take the rough cost of a pusheenz40 down from $14.57 CAD to $6.56 CAD. Here again that despite being 32 keys now, the cost of switches continue to dominate the cost of the board, and are probably the sole cost limiting factor at this point.
In order to make the hypothetical keyboard less than 5 dollars, I had to perform one final trick
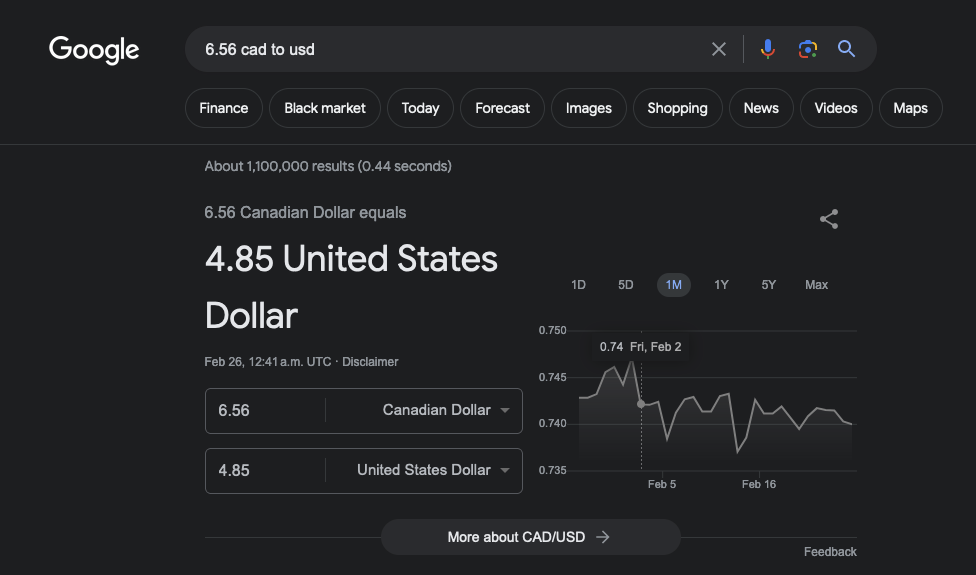
At time of writing, $6.56 CAD is $4.85 USD, giving me my $5 keyboard. Thank you Canadian economy :))
Recieving the boards and using FAK
Once the design was done I sent my board off to JLCPCB to be manufactured. The merchandise cost ended up being 54.15 CAD, which for 5 boards works out to roughly $8 USD. I think this is still roughly reasonable given that I am using JLC's PCB assembly services rather than assembling the boards myself, and given that these costs can be greatly amortized if I ordered a bigger quantity, like 30.
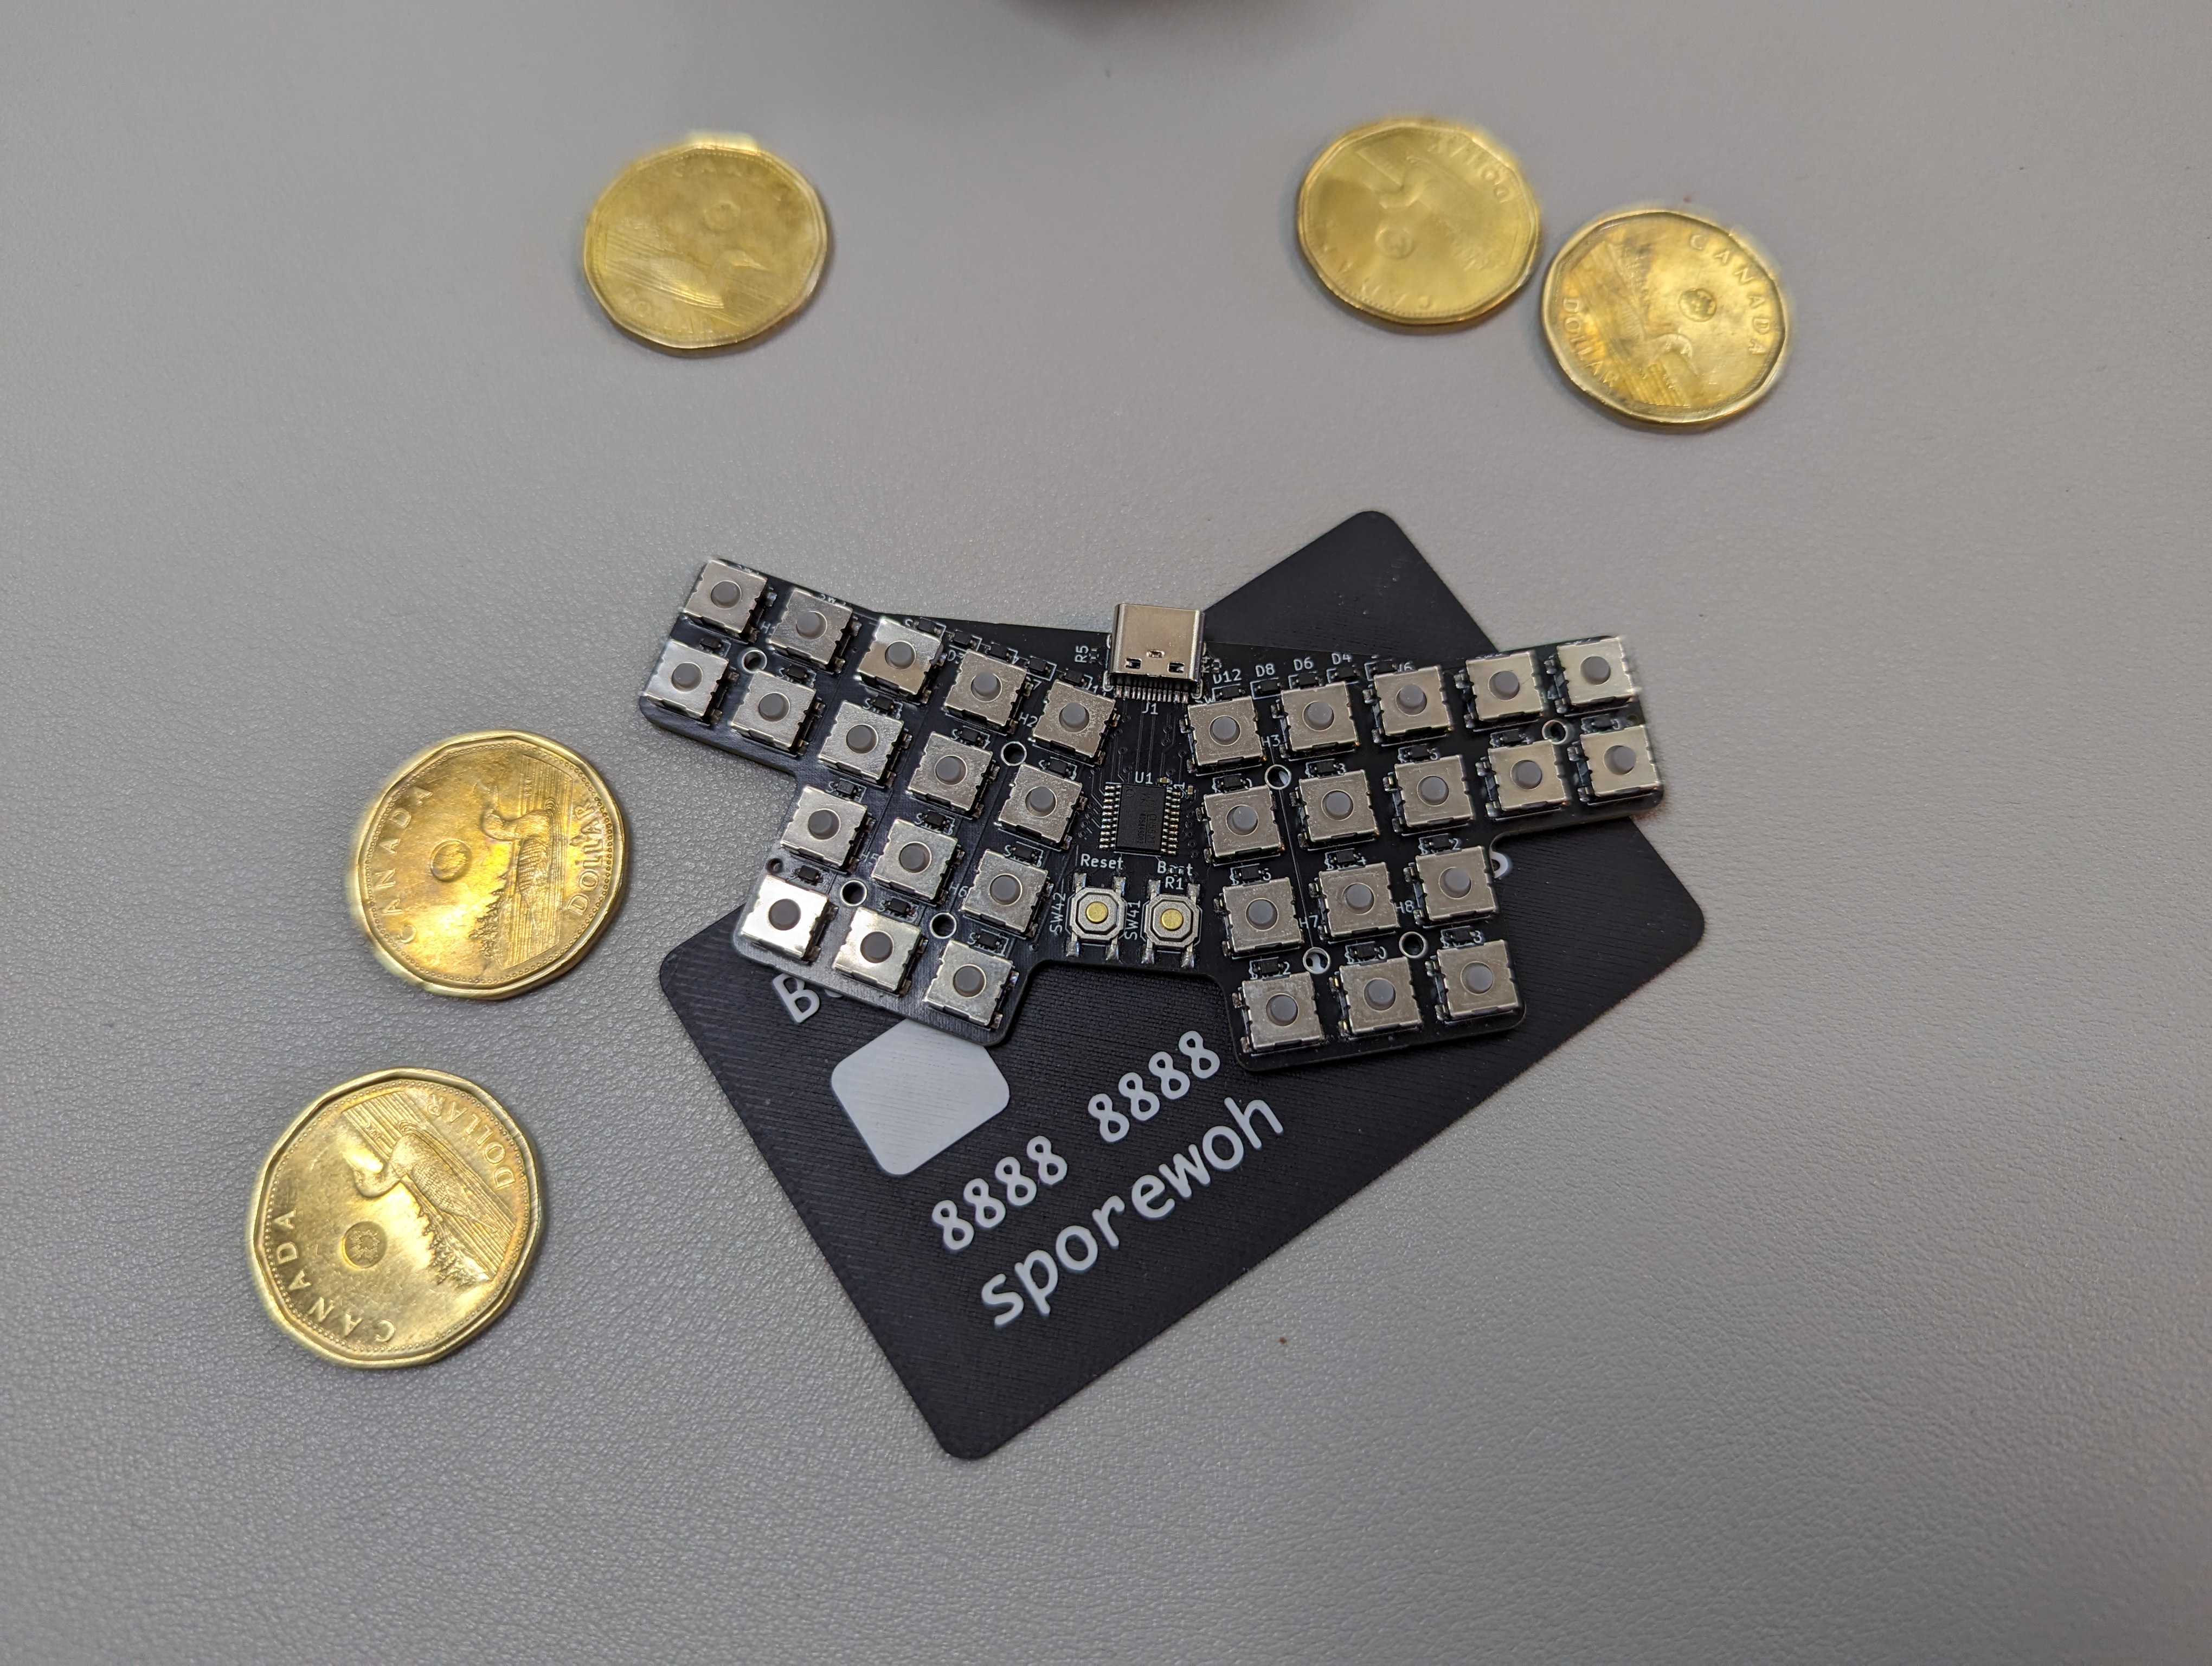
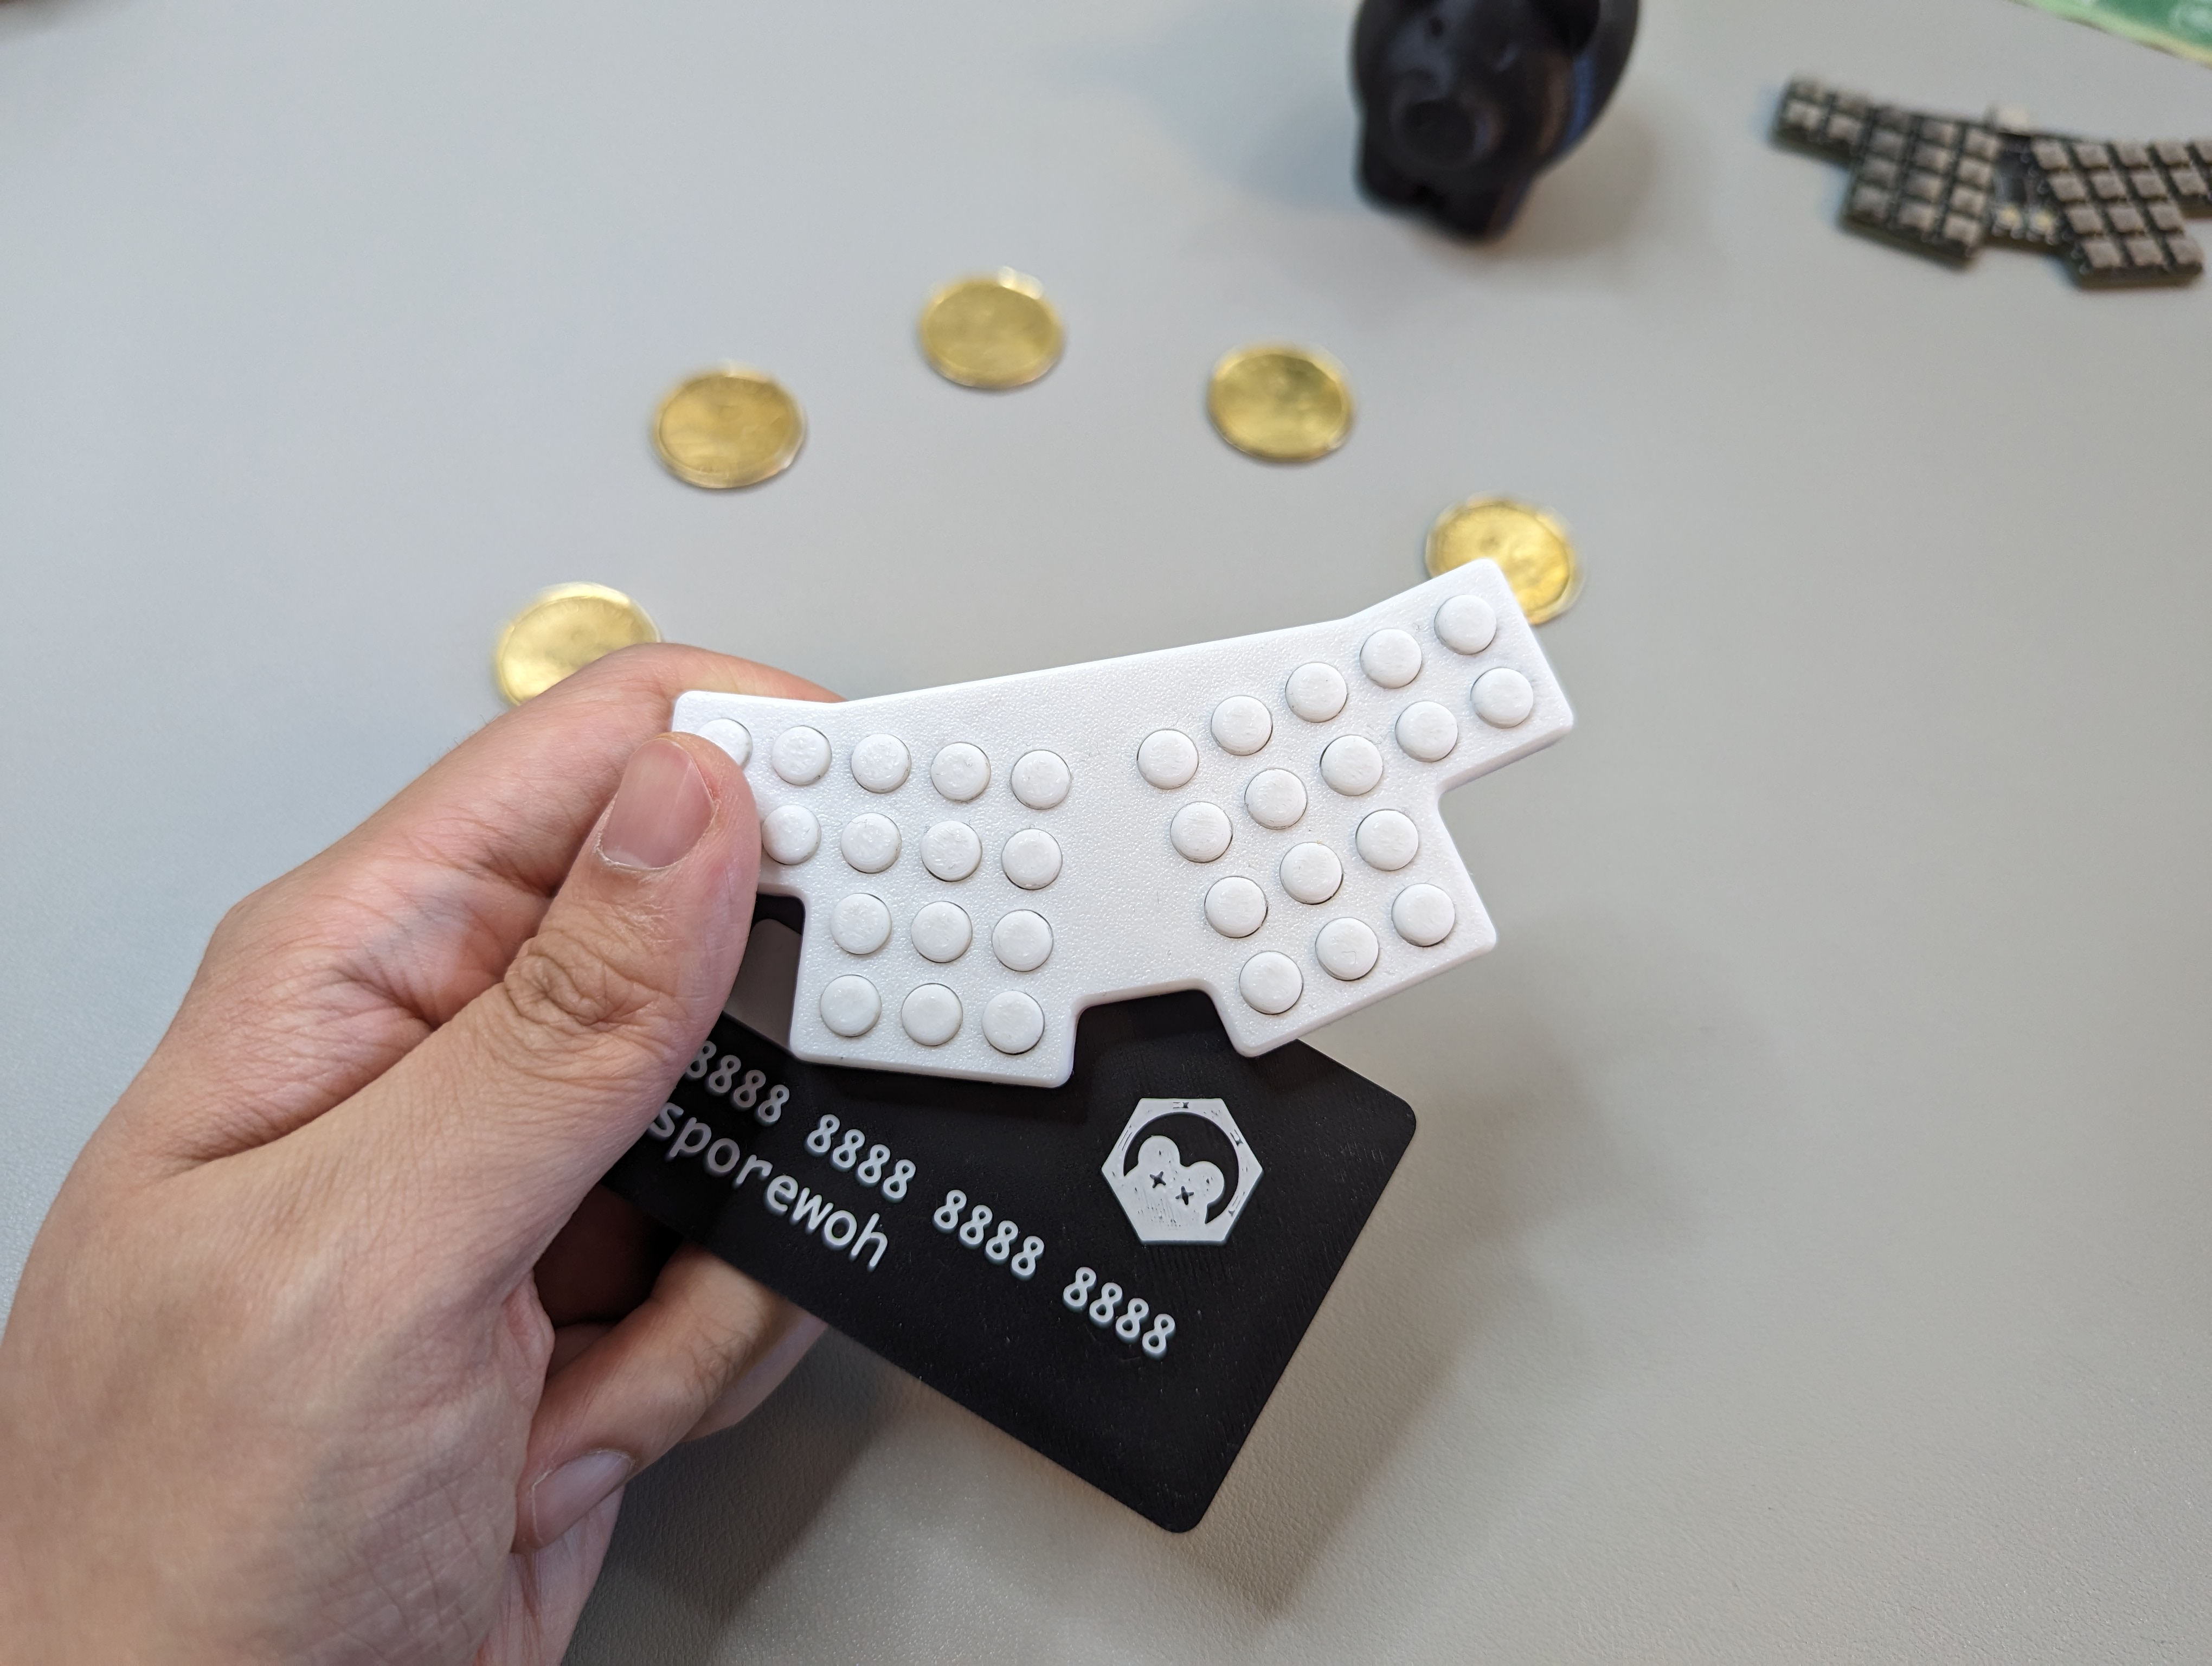
When the boards arrived I was pretty happy with the result. The tactile switches felt decent enough, and I thought it was pretty funny that the size of the board was approaching that of a credit card.
The biggest risk at this point was using FAK itself. I was cautiously optimistic of FAK, because I've had bad run ins with smaller keyboard firmware projects in the past. Of the prior keyboard firmwares I tried until that point, I found one of them to be missing some features required for a 40 key keyboard and being a bit too low level for my tastes (skill issue on my end I suppose), and another to have a considerable amount of bugs, as well as documentation, code, and coding standard issues. The other two firmwares were QMK and ZMK.
To my surprise, I ended up liking FAK a lot, and I was surprised how feature rich it was from the box (hold-tap support, mod tap keys, magicboot, tap dance, etc.). Once I wrangled with getting the dependencies set up on my Macbook, it was off to the races with playing around with FAK and flashing the firmware onto my board. I had zero blocking issues taking my intermediate 40 key QMK layout and effectively recreating it in FAK.
I think one of the coolest things about FAK is how it uses Nickel to convert the configuration down into low level C code. From an end user standpoint, it surprised me how much rich configuration you can set up while still having it all being able to run on the relatively resource constrained CH552 chip.
One thing I'd like to see in the future from Nickel is a better debug story when it comes to type errors. Sometimes when changing a layout you can get the following message (or simillar)
Evaluating Nickel files...
error: contract broken by the value of `layers`
    ┌─ /home/username/Keyboards/fak/ncl/fak/keymap.ncl:193:14
    │
193 │     layers | Layers,
    │              ------ expected type
    │
    ┌─ /home/username/Keyboards/fak/ncl/kazik/keymap.ncl:9:5
    │
  9 │ ╭     [
 10 │ │       kc.Q,     kc.W,     kc.E,     kc.R,     kc.T,     kc.Y,     kc.U,     kc.I,    kc.O,     kc.P,
 11 │ │       kc.A,     kc.S,     kc.D,     kc.F,     kc.G,     kc.H,     kc.J,     kc.K,    kc.L,
 12 │ │       kc.Z,     kc.X,     kc.C,     kc.V,     kc.B,     kc.N,     kc.M,     kc.SLSH, kc.RSFT,
 13 │ │       kc.LCTL,  kc.LALT,  kc.SPC,   kc.BSPC,  kc.RALT,  kc.RCTL
 14 │ │     ],
    │ ╰─────' evaluated to this expression
While it's great that Nickel is highlighting that there is a typing issue in the configuration, it's not clear why the typing is failing, and often requires a thorough search through the typing. In contrast, languages like Typescript are pretty good when telling you when a type definition is broken, since it drills down to tell you exactly what field is incorrect when assigning a value to a type. This is a surface level criticism of Nickel though, and not one about FAK itself.
A tradgedy in the switches
Once I had the firmware set up, I was off to the races with monkeytype. From there however, the greatest flaws of the board was revealed; the switches. The G-Switch GT-TC063F-H035-L30 had greater travel than the Panasonic EVQP0N02B switches I was used to, and required a higher level of force to actuate at 70gf. These two factors combined made it more cumbersome to type on. This in conjunciton with the new 32 key layout and 9mm spacing reduced my wpm down from 100 wpm peak to maybe 83 wpm peak.
Additionally, the keyboard felt considerably more scratchy than the pusheenz40, since the key buttons moved up and down more due to the greater travel, and had more opportunity to get stuck and caught on the 3d printed case. Thankfully I found applying Krytox to the key buttons helped the scratchyness considerably.
Unfortunately, the final nail in the coffin for these swtiches were their reliability. I noticed that some keys didn't register unless I pressed fairly hard on them, even after they made a tactile click. At first I wondered if the firmware or pcb had some issue with noise and bouncing, but after a few afternoons of debugging, I confirmed that the problem did seem to be coming from the switch itself.
Of the 5 PCBAs I had, all 5 of them had 1-5 defective swtiches that wouldn't register unless pressing well beyond it's tactile event or if pressing it at an certain angle. The best fix I can come up with so far is transplanting the silicone membrane and click disc of the a working button to a defective one. Unfortunately, while about as barbaric and naive as a plague doctor treatment, it does seem to be a semi-reliable means of fixing the issue. I suspect the issue might either be with misalginment of the click disc, the quality of the click disc or key membrane, or both.
Regardless of the issue, the defect rate is unacceptable, and unfortunately means that this current batch won't be something I'll want to give away. I plan to create a new idawgz32 revision using the tried and true EVQP0N02B once my pre-order of them is completed.
Conclusion
In conclusion, while these prototypes cannot be given away due to defects in the switches, they helped confirm a lot of experimental questions I had. Primarily, they confirmed that a 32 key layout is viable for me, as well as validating that FAK is usable for my current and future layouts. Finally, they confirmed that it is possible to produce and entire board with swtiches for roughly $5-$6 without having to bank on economies of scale or obscure manufacturing processes.
In terms of design, I'm happy that I plotted all of the costs out into a pie chart before deciding what to cut. I think it allowed me to make holistic decisions about the design and prevented me from hyperfocusing and wasting time on diminishing returns for any given dimension. I'll adopt a similar approach for future budget projects going forward.
One surprising realization that came out of the process was the discovery that the switches are by far the most domininant cost factor for any given mechanical keyboard, barring a fancy metal CNC'd case. Even for a 40 key STM32 board with a decent amount of trimmings, the keys took up the majority of the cost of a keyboard. The revelation to me is that hyper-cost-optimized boards need to focus on the switch price and/or the switch count for them to truly succeed. Other optimizations simply will not matter if the price of the switches are not kept in check.
I look forward to making a v2 of this board where I can use the panasonic switches to hopefully address all of the major issues with the board. Hopefully then I can have a tiny board that I can both daily drive and give out like candy.
Acknowledgements
Thank you BeeKeeb, TALPKEYBOARD, and kurihara for being recurring sponsors on Github and ko-fi, as well as to all those who have donated!
I am very grateful to have a community of people who enjoy my work as much as I do. With your support I'm able to keep making these hyper experimental boards, and learn a lot and document it along the way. If you found this project and process interesting, informative, or useful, or like to see me make more projects similar to this, please consider supporting me on Github or ko-fi!
Another big thank you to semickolon for doing an incredible job with FAK, as well as for the firmware help and support. semickolon's also working on a new, exciting firmware that will be able to work with wireless RISC-V chips! If you're interested, check out his discord here!
If interested in my other projects, feel free to check out my discord here!