
modkipz40 (how I used ergogen for the first time)
Purpose:
Discuss how I made the modkipz40, my new "ergonomic" pocket board that uses mouse switches. Talk about my first experience using ergogen, it's advantages and drawbacks, as well how this project shifted my view on keyboard ergonomics.
Problem:
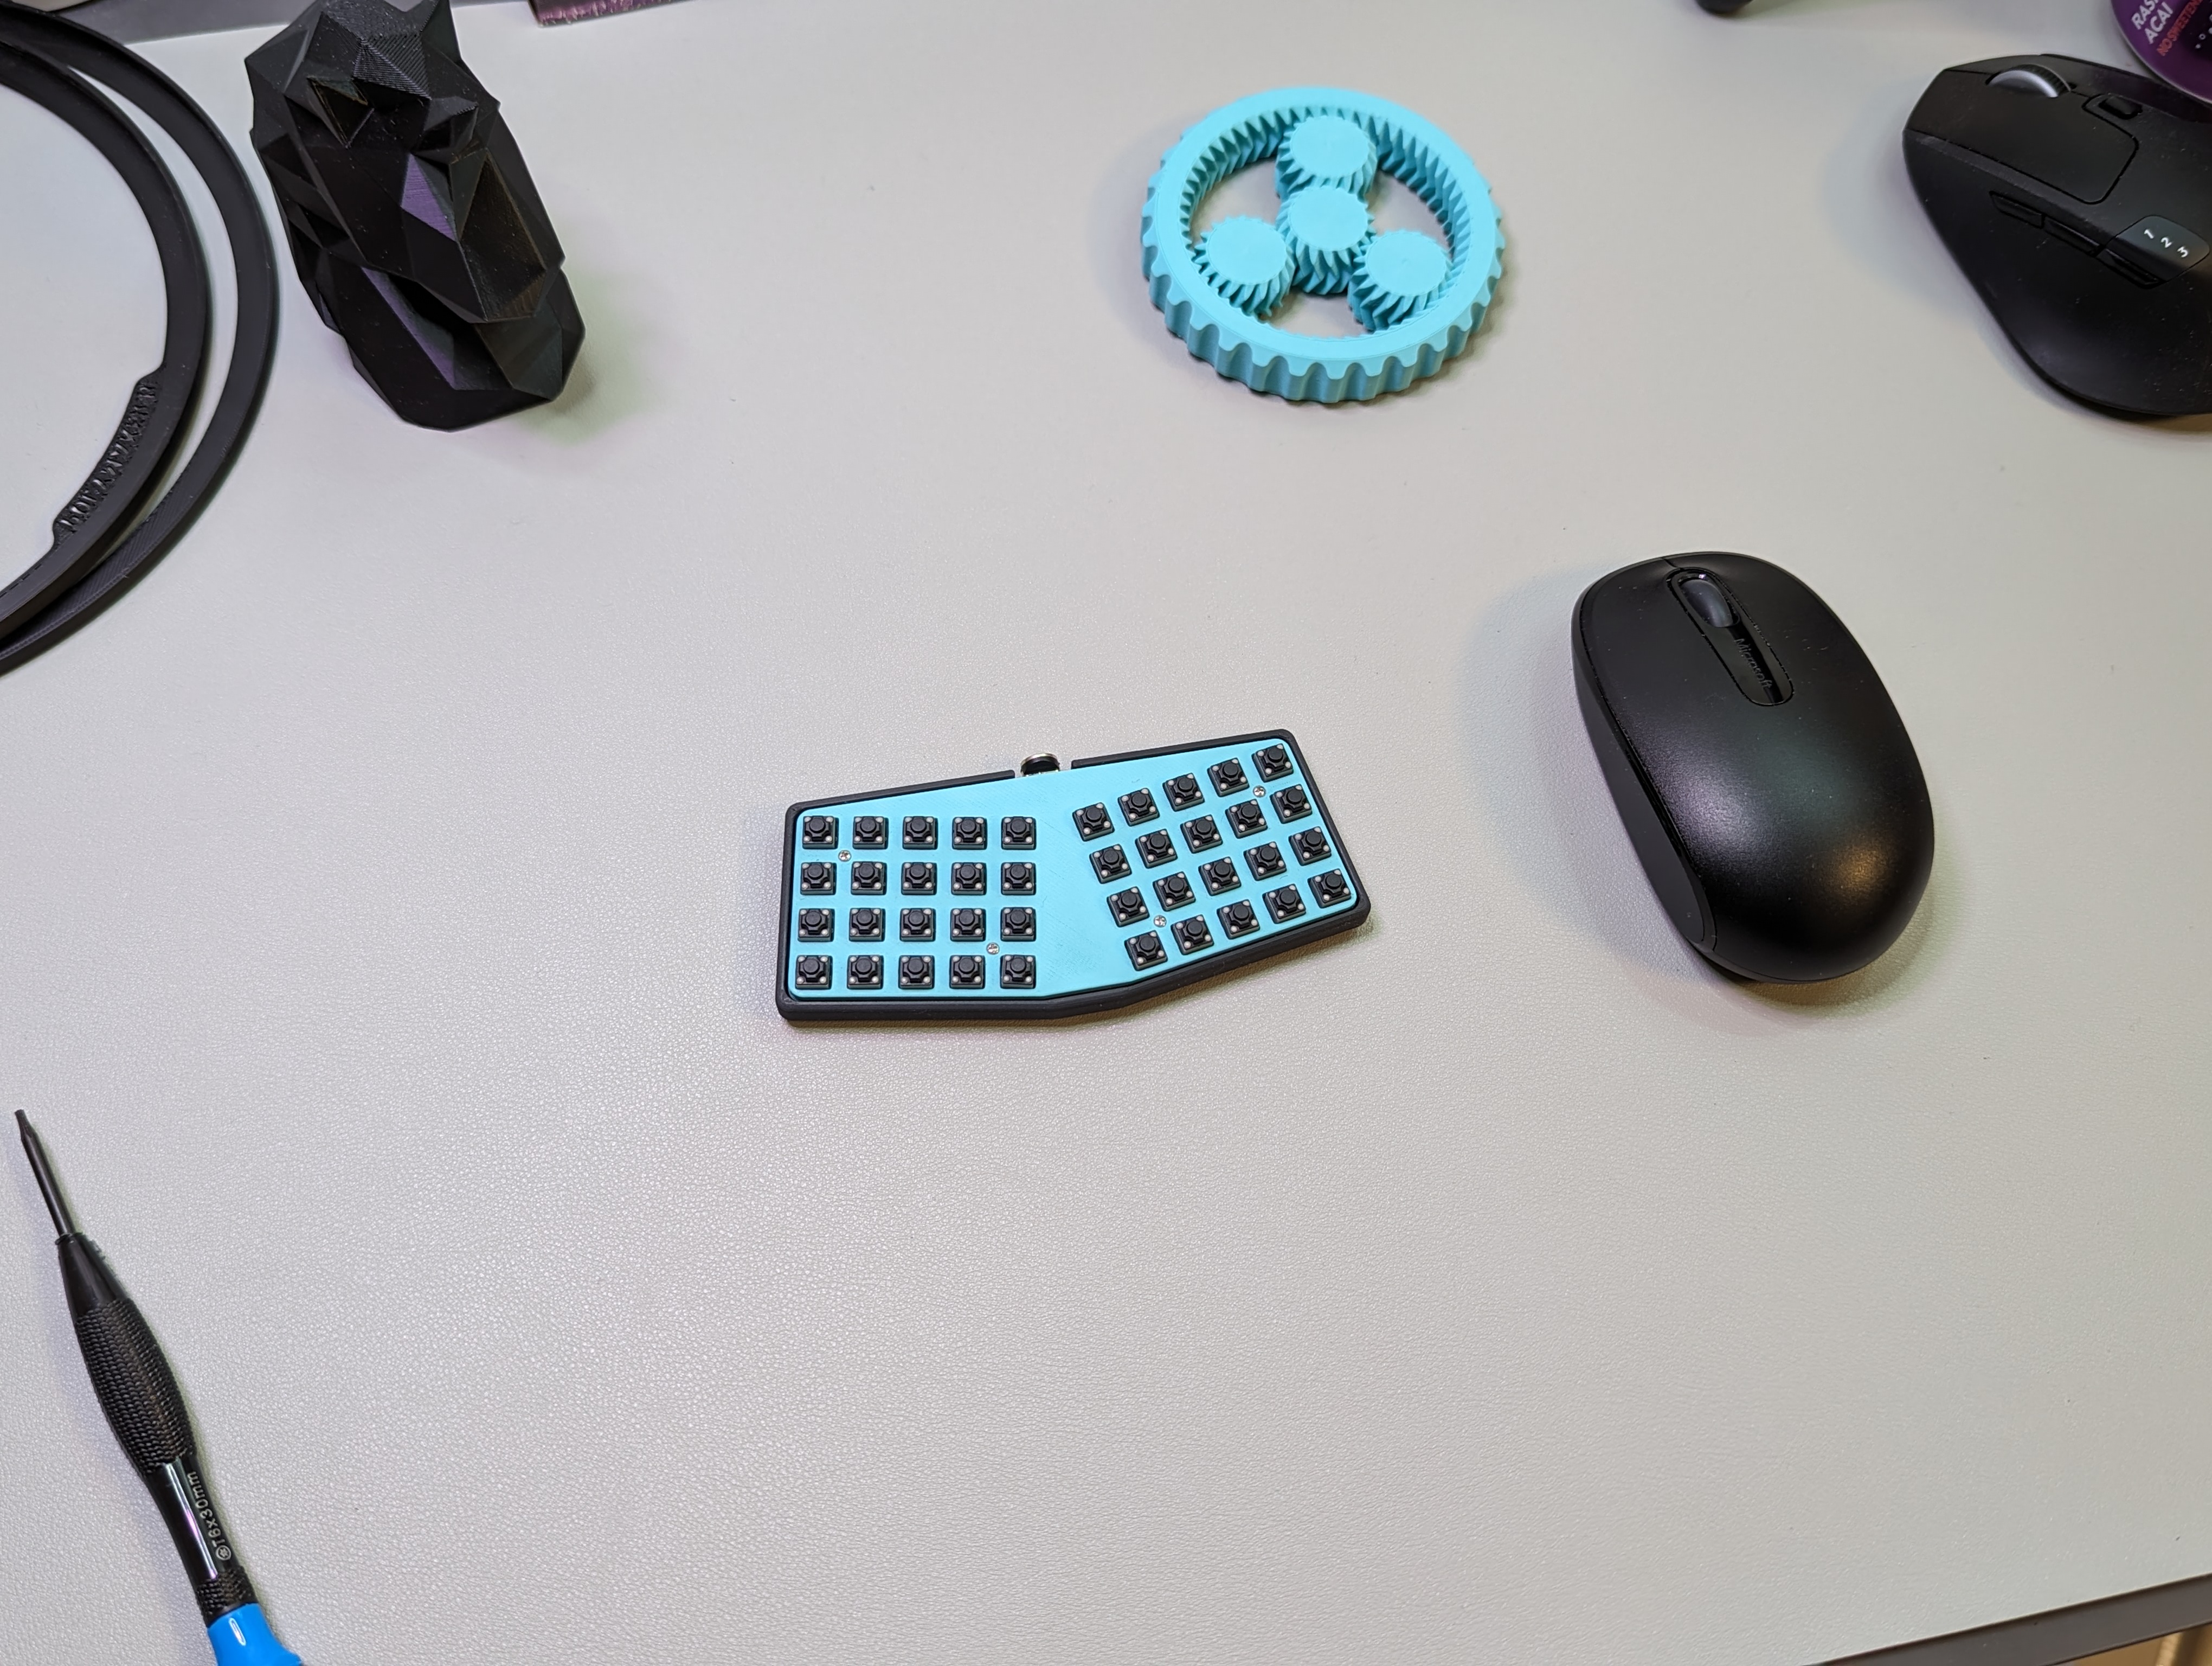
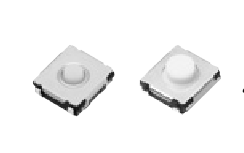
I thoroughly enjoyed making and using my bunchiez40 keyboard, which was the first board of mine to use mouse switches (that is, the buttons that you can find in computer mice). I like this kind of board so much that I've come up with a new term for its kind: pocket board.
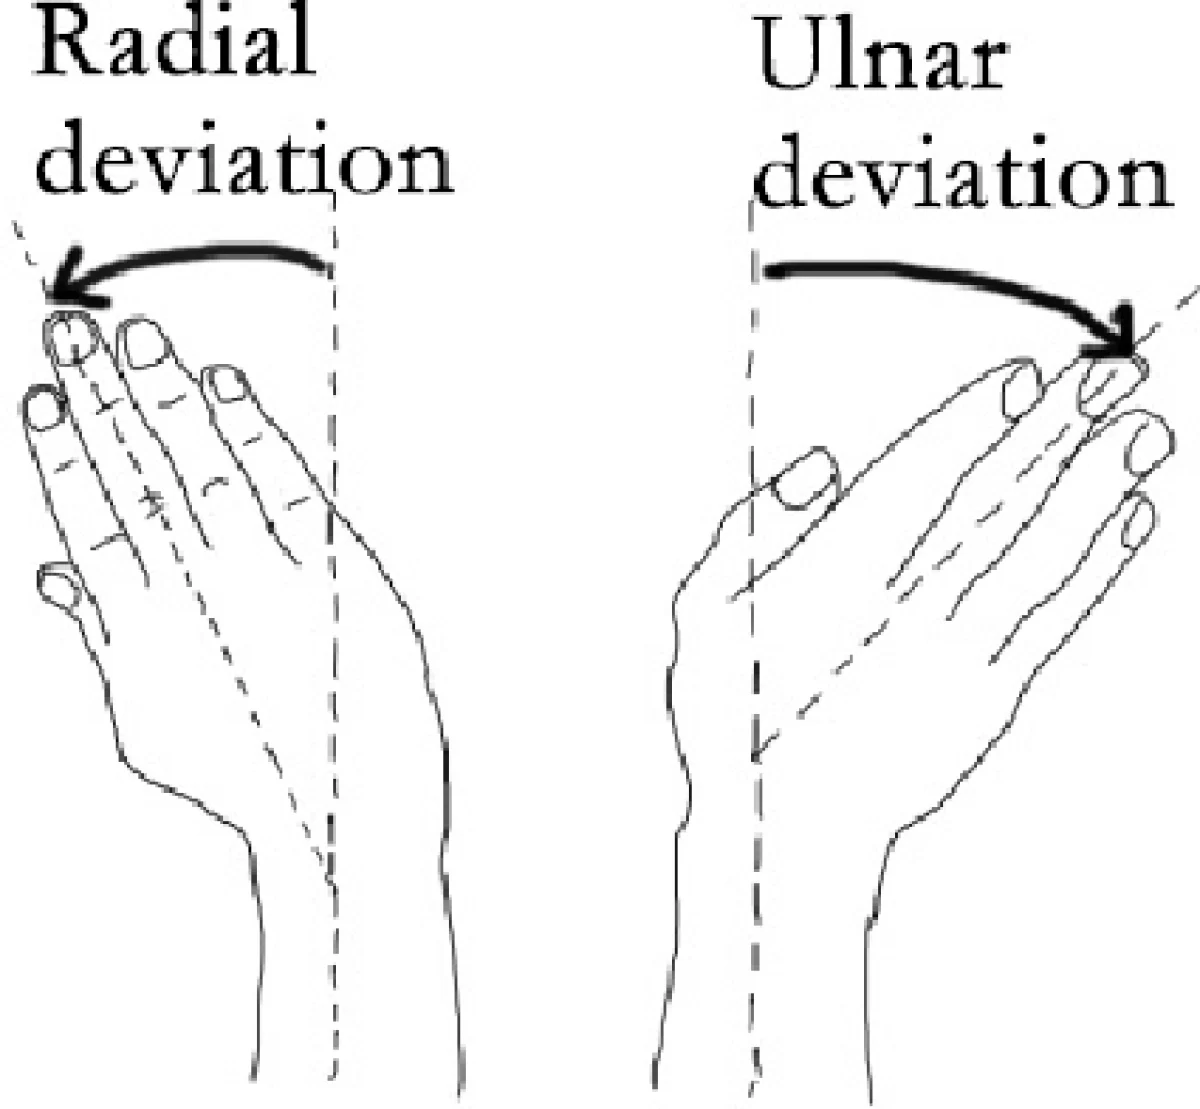
However, one of the biggest issues with the board for me was its tight key spacing. Ironically, the issue though was not with typing speed, but rather the ulnar deviation that occurred when I was typing on the board. This occurred because I had to move my hands closer together.
My wrists started to hurt after extended typing sessions, both due to what I think is compression of the ulnar tunnel, as well as compression of the carpal tunnel. I was generally able to over come the carpal tunnel compression by assuming a proper typing form that didn't compress my wrists against the table (along with proper wrist streching before hand). However, my ulnar tunnel still ached considerably, meaning I needed to develop a new pocket board to account for this before I caused any permanent strain and damage to my wrists.
Solution:
The solution to reducing ulnar deviation in the keyboard world is generally to angle the the halves of the board such that the hand is relatively parallel with the rest of the arm, such that the wrist doesn't have to deviate much from it's resting position. This would mean I would have to tilt the two haves of the keyboard inwards to reduce any ulnar deviation.
The most widely used tool in the community to make boards like this would be Ergogen. Ergogen's biggest strength is that it creates vectors of a keyboards shape based on the YAML fed into it. The YAML configuration allows for ergonomic keyboard shapes, since it's easy to define key spacing, key/column angles, and any offsets desired.
My experience with Ergogen:
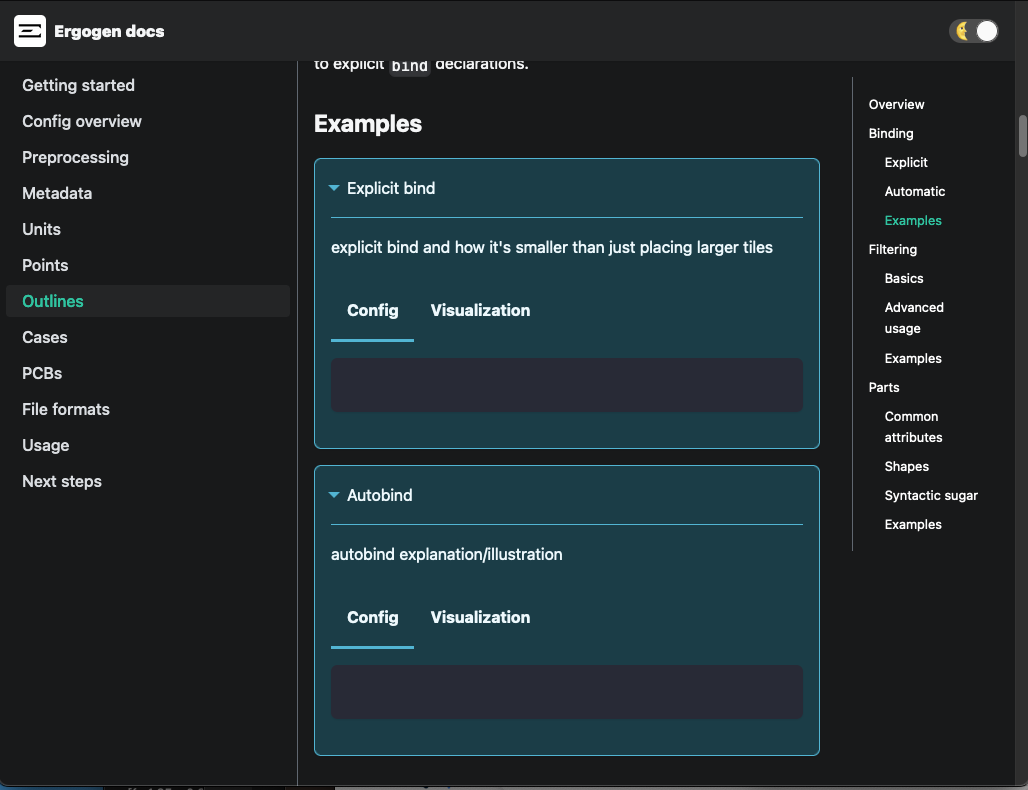
I had previously tried to use Ergogen to make my first project years ago (specifically for the youwu36). The two biggest issues with it I found though, were that I was trying to use it as a crutch as an alternative to understanding KiCad (as I didn't know how to fully use KiCad at the time), and that I found the documentation tricky to parse. At time of writing, I still find it hard to understand how certain examples in the docs fit into the larger picture of making a keyboard (it can read more like an API sheet than a guide), and examples in the Outlines section weren't loading altogether.
Upon revisting Ergogen years later to try to use it for this project, I stumbled upon this guide by FlatFootFox. I think this guide is awesome, since it nicely structures Ergogen concepts into a logical sequence, provides detailed information on what each snippet of YAML is doing, and most importantly, provides clear holistic examples of what you can do with Ergogen. This is an awesome guide that allowed me to quickly whip up exactly what I wanted in terms of outlines. I was able to generate the shape of the PCB, plate, and case all in a single vector outline.
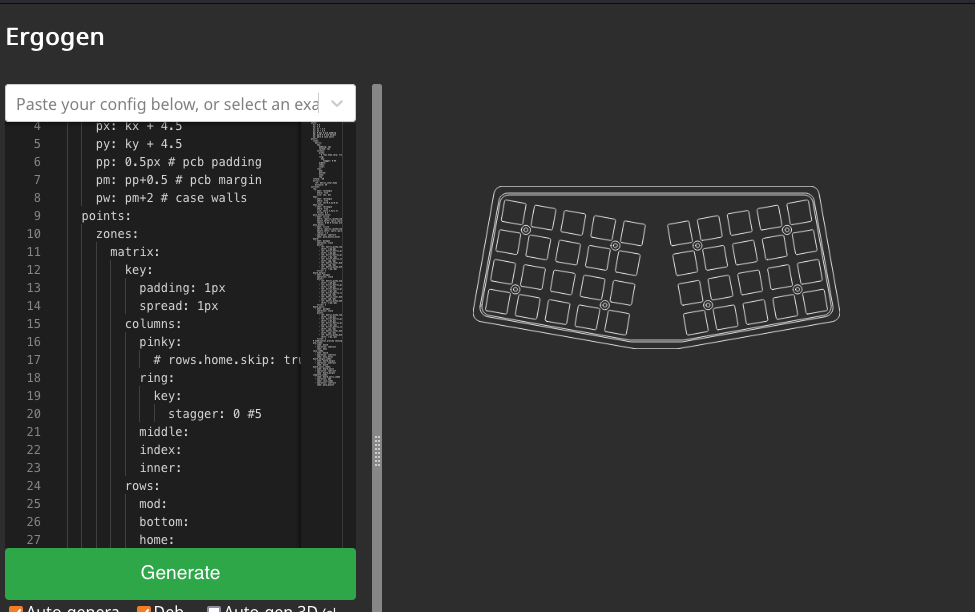
I used the outline in KiCad by importing the DXF and then setting the outer lines to edgecuts to define the PCB shape. I also used the YAML in conjunction with the kicad-kbplacer plugin to set the switch positions.
To make the case, I used the DXF in Fusion360 by importing the outline file and then selecting the shapes I wanted to extrude. Extruding the shapes allowed me to easily both make the bottom half and top half of the case relatively parametrically.
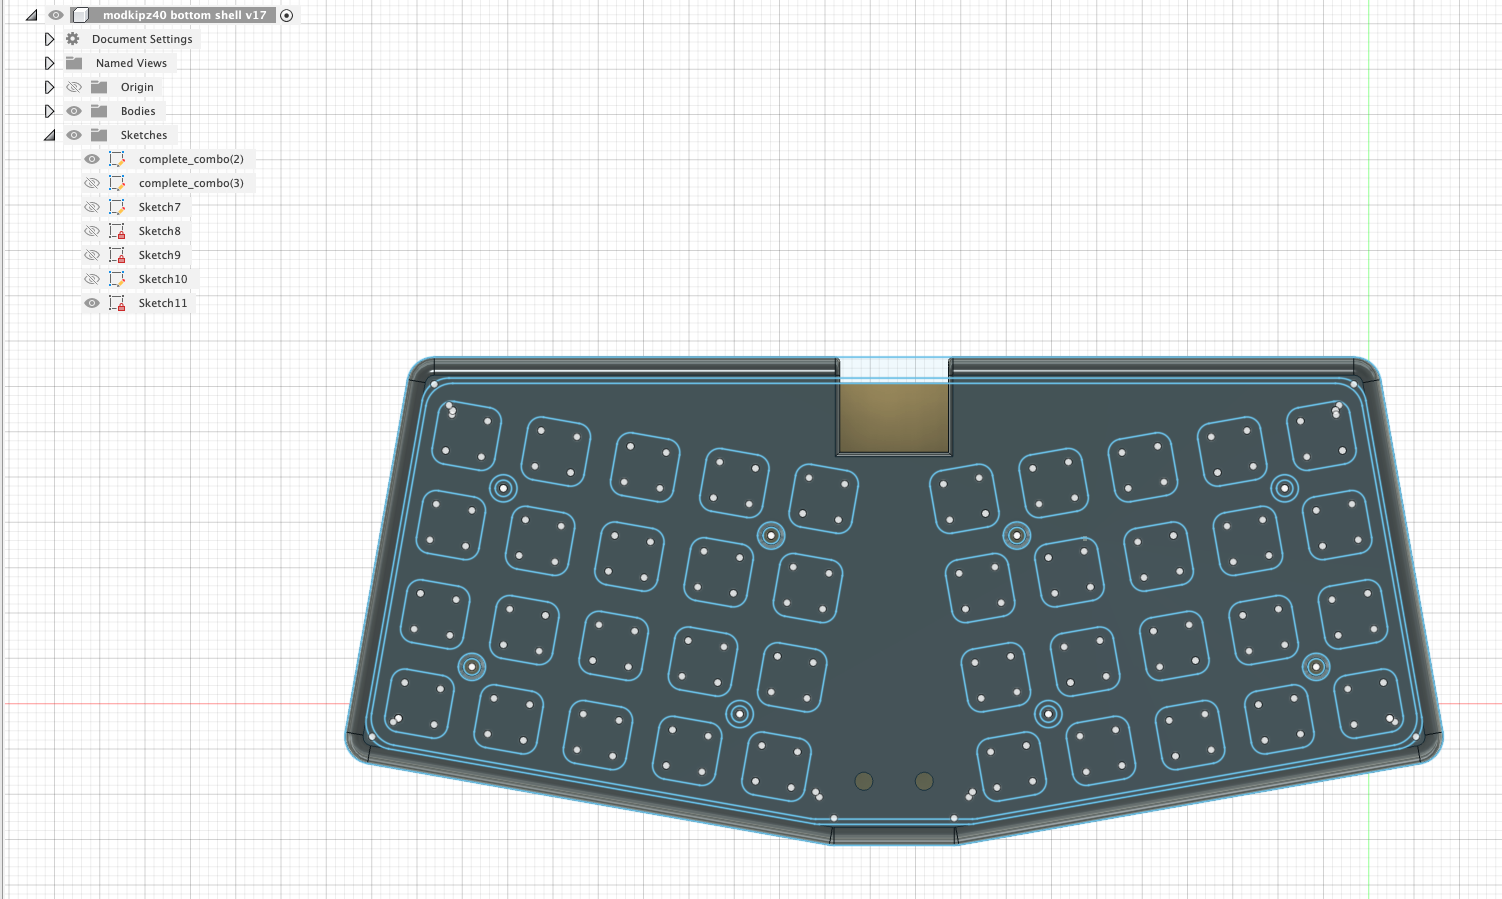
For KiCad and Fusion, while I am happy with the final result, I do wonder if I can refine the creation process a bit in the future. In KiCad, I had to manually shift the grid of switches onto the PCB, which was time consuming and somewhat imprecise (I understand that Ergogen has an ability to export KiCad files, though I wasn't sure how to get it to easily use the mouse switch footprints I needed to use). For Fusion, the model is only partially parametric; any changes in the Ergogen file meant a new DXF file, which means I would have to redo or reassociate a good chunk of extrusions and steps there after.
Results:
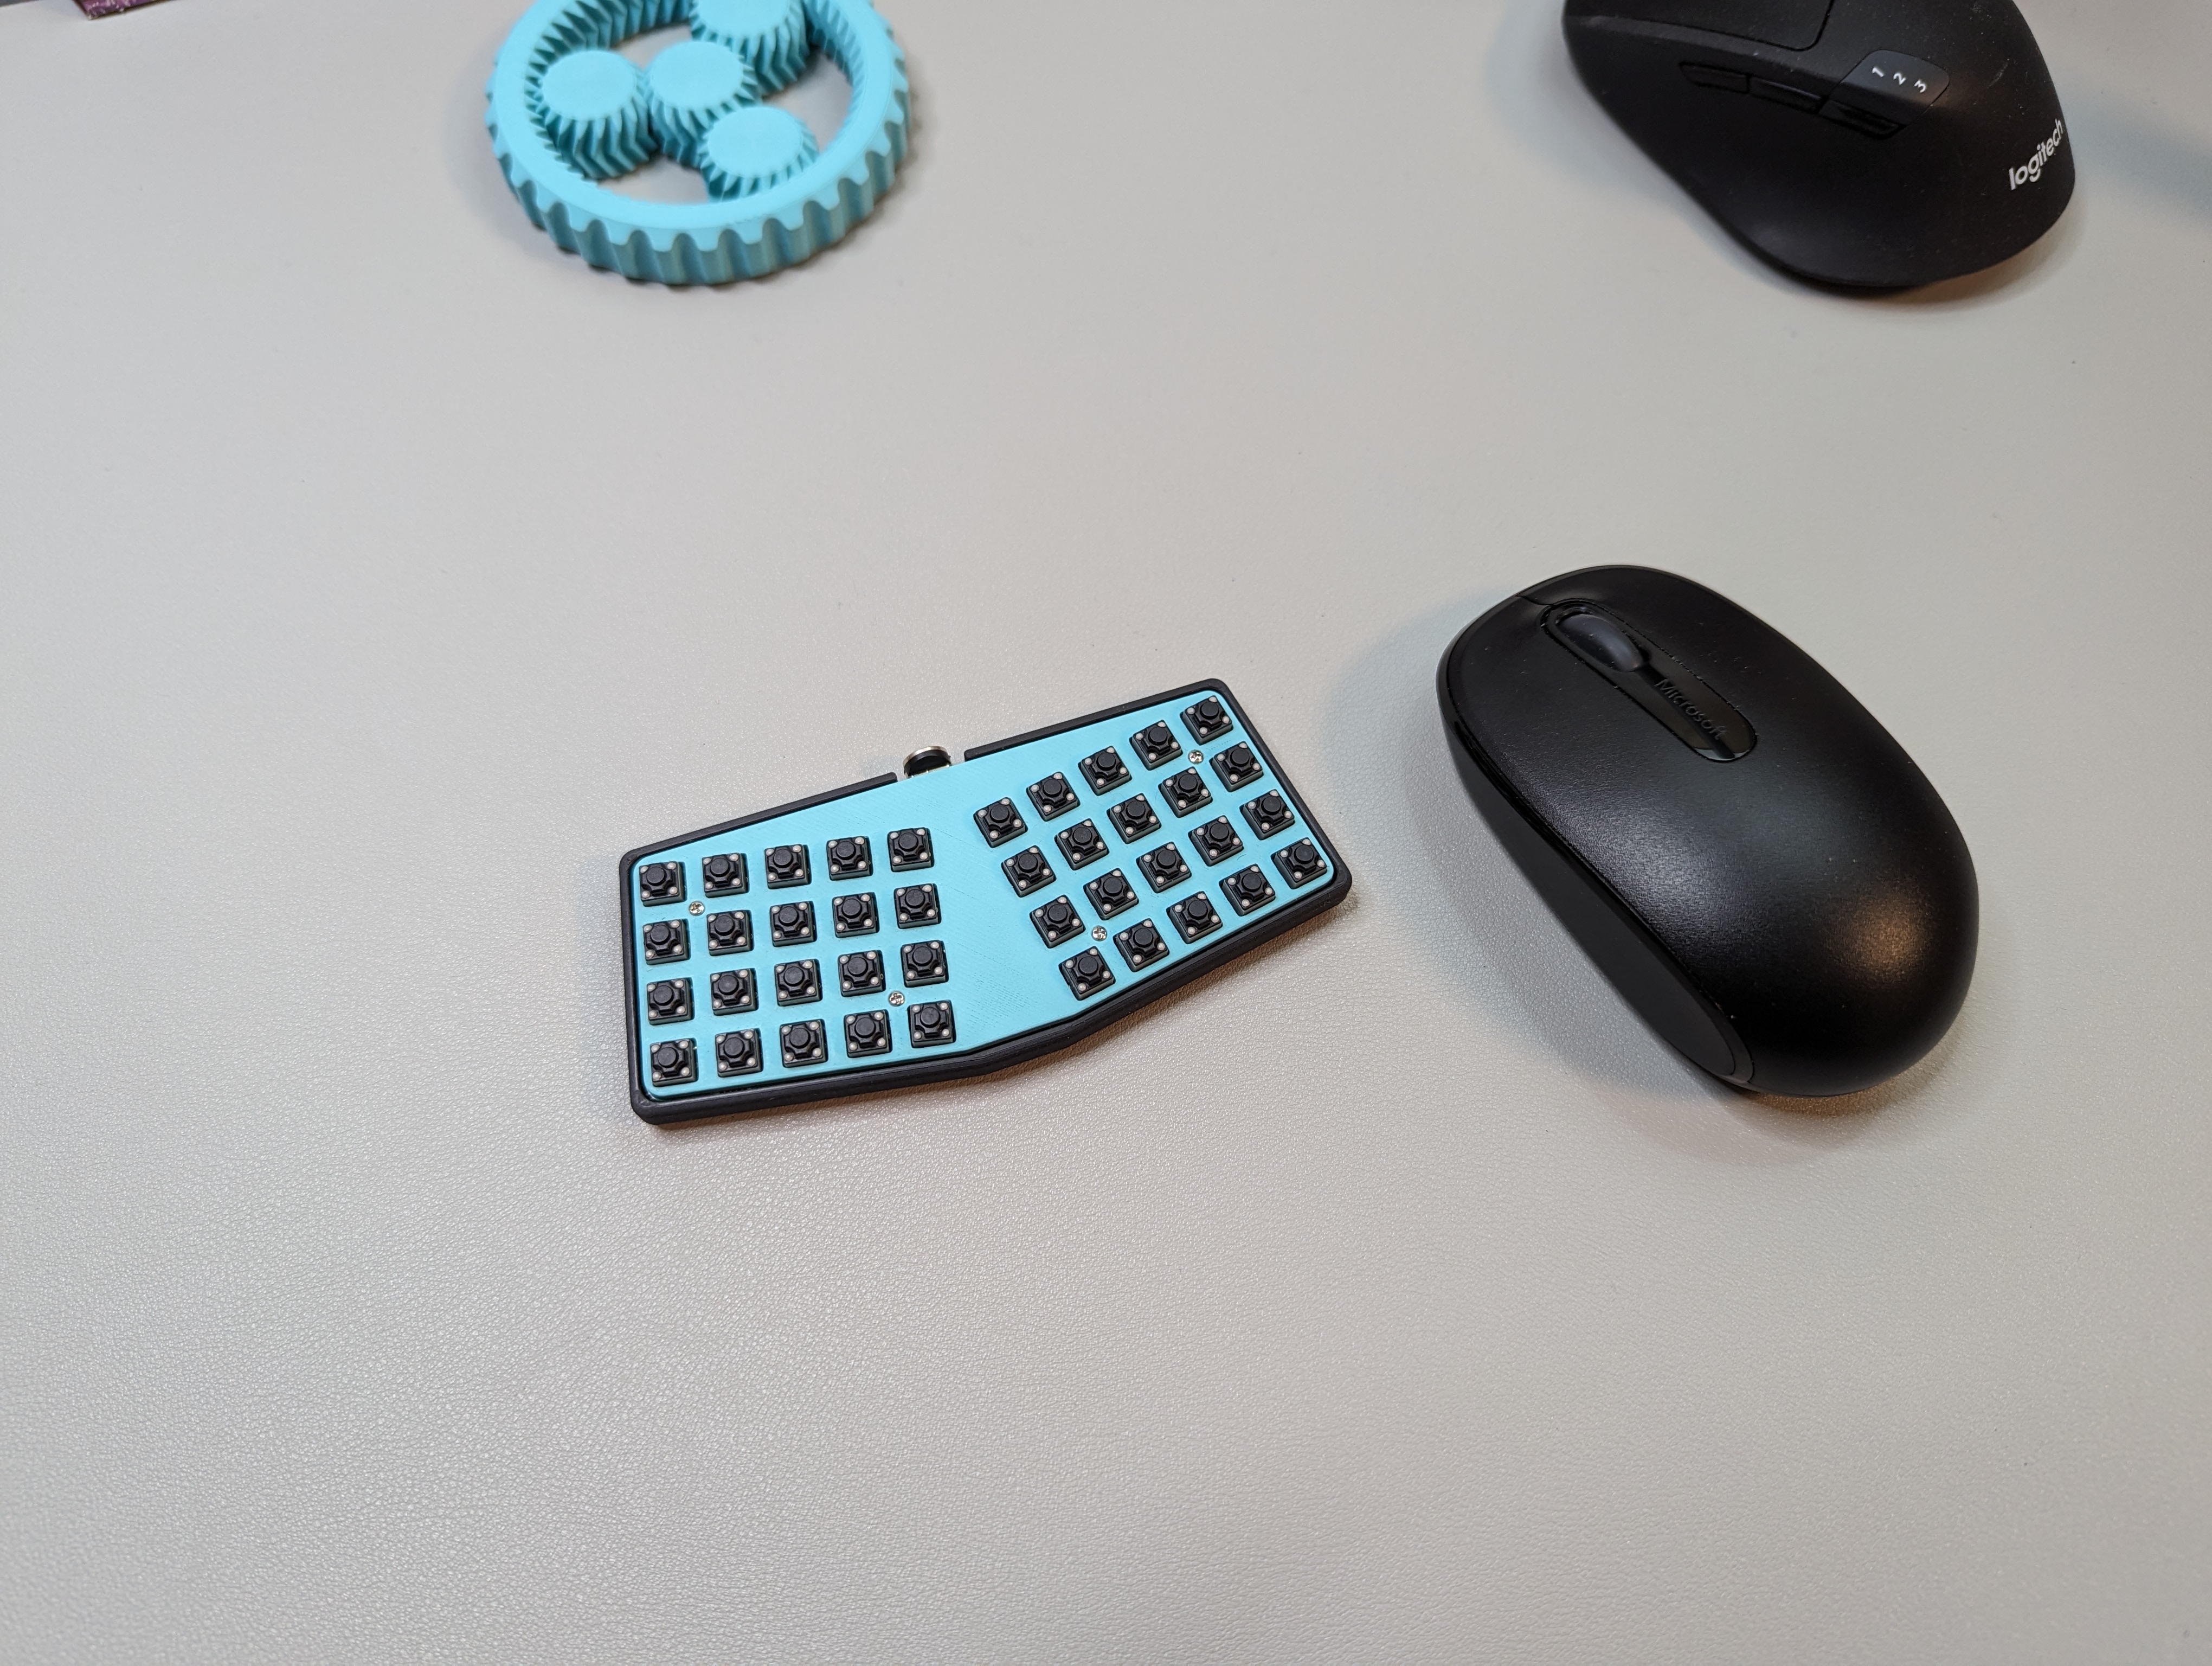
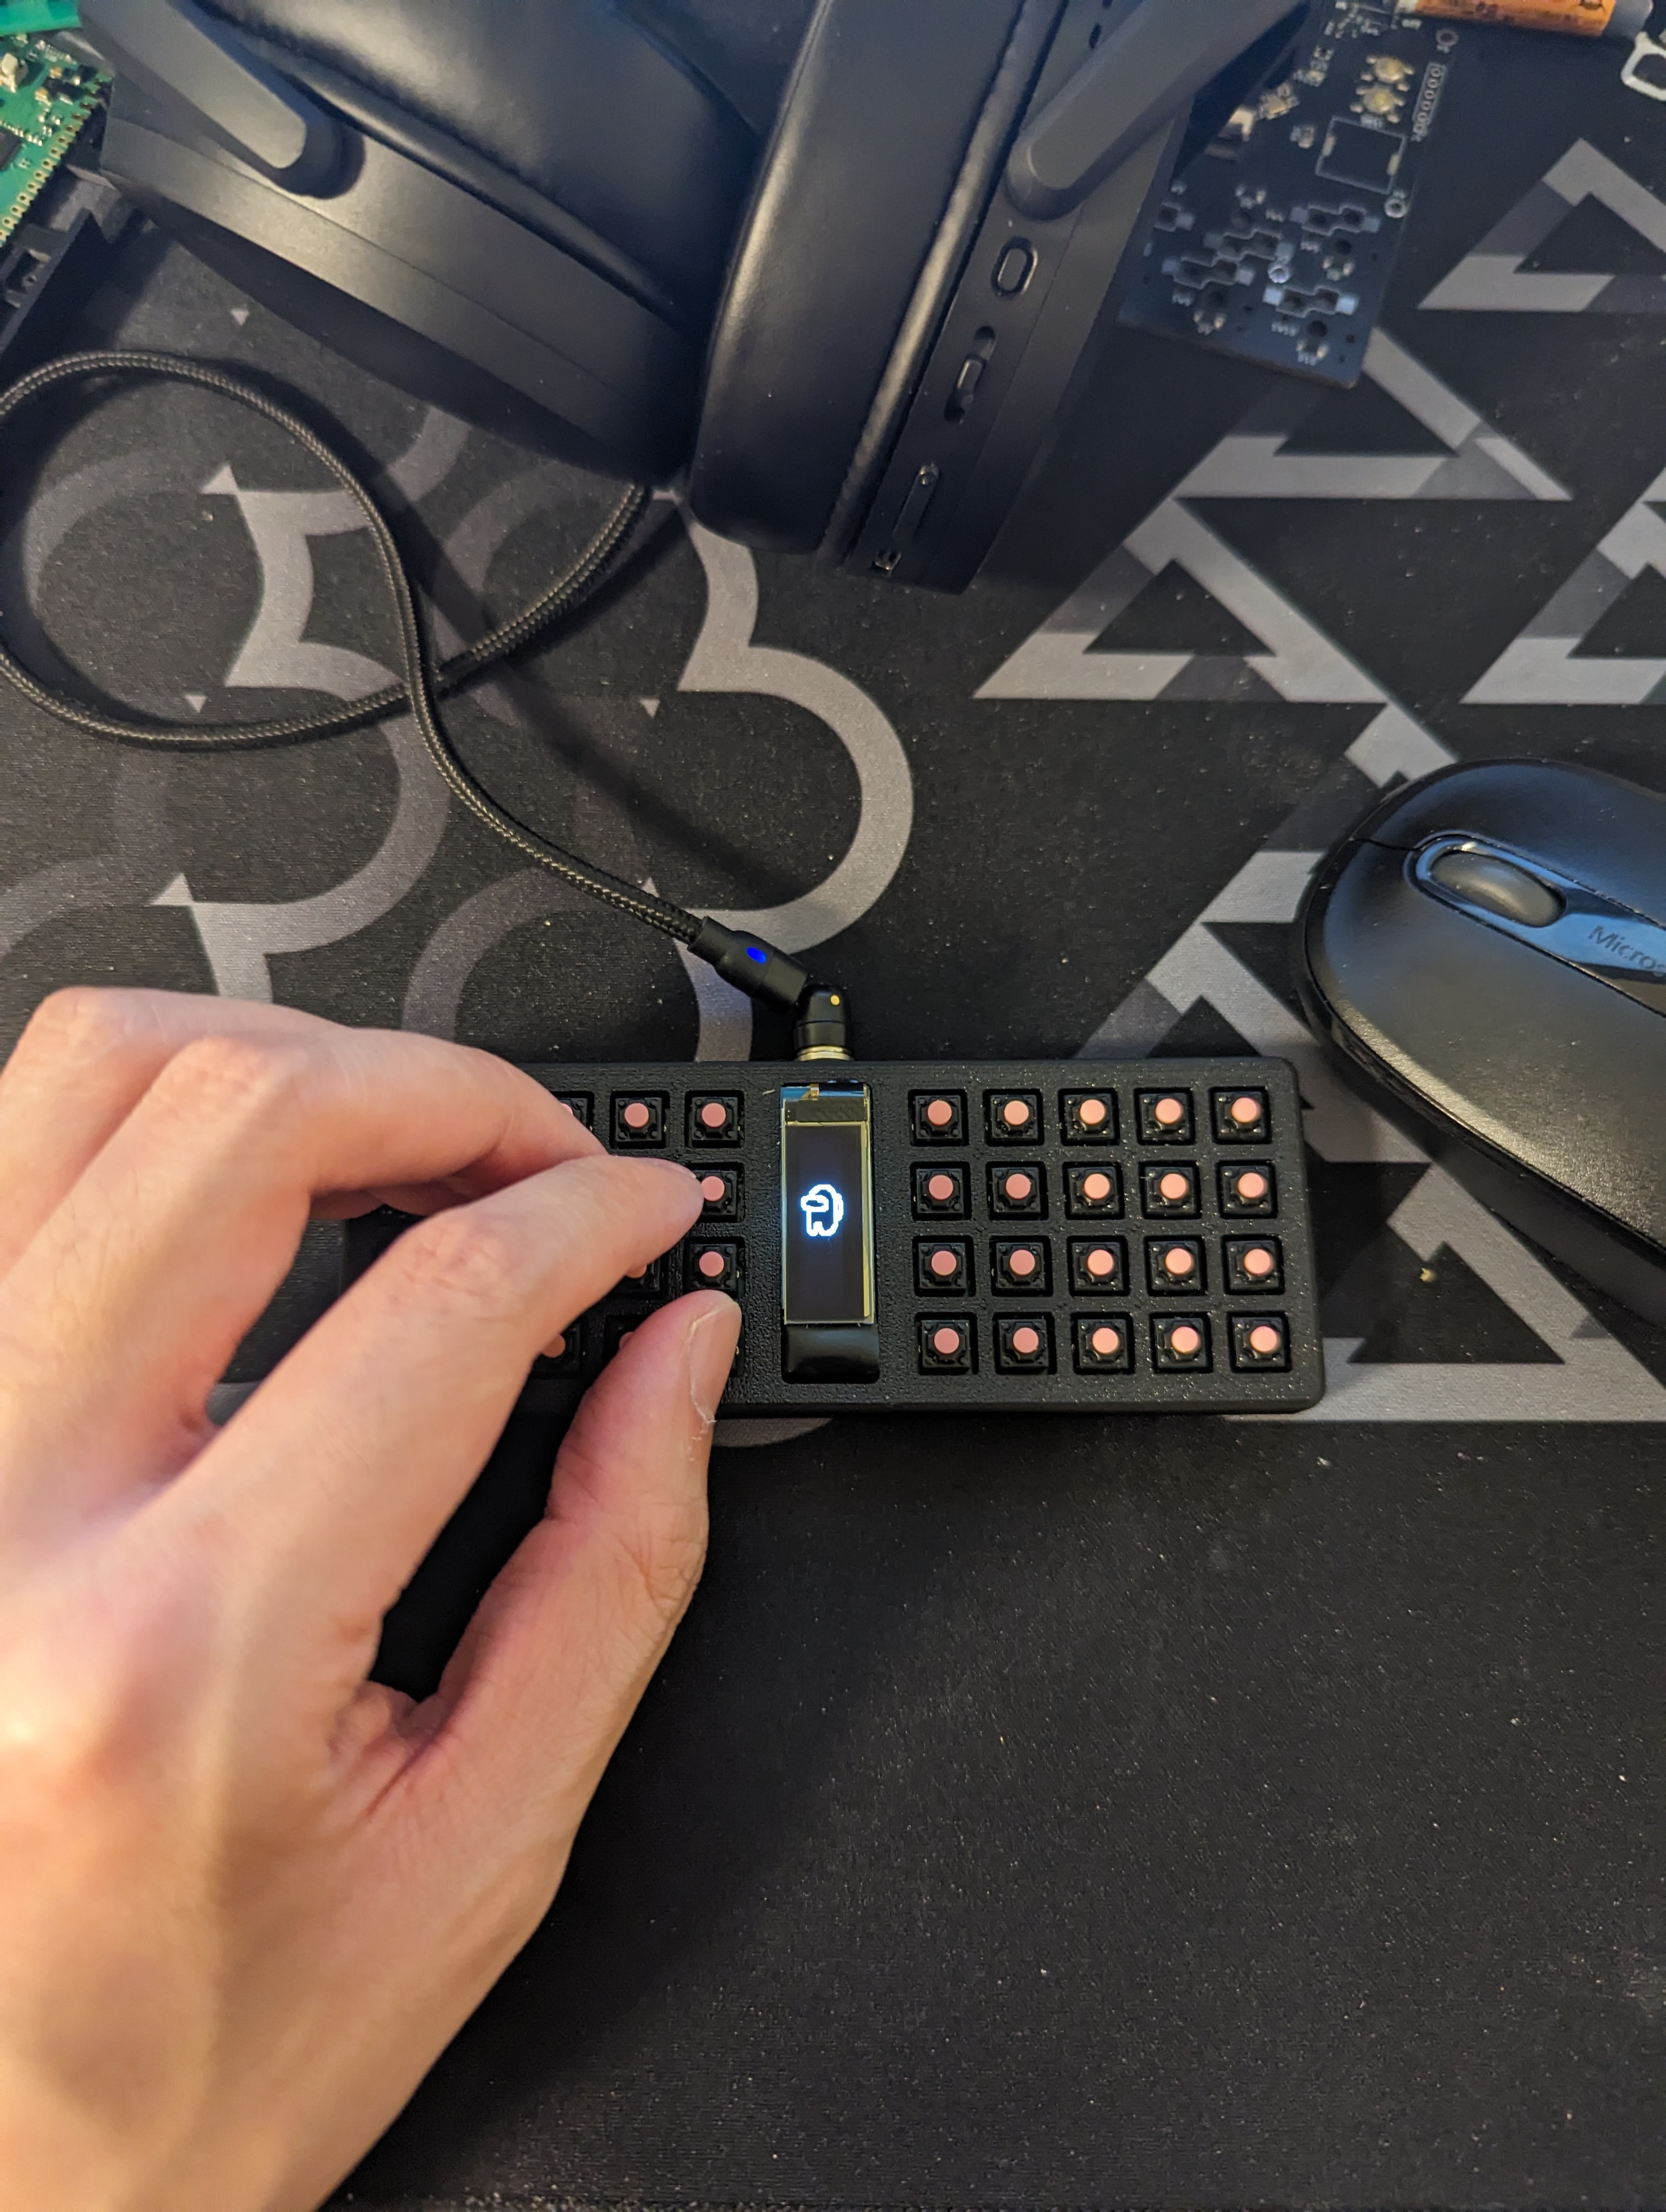
After assembly, I was happy to find that the angled keys significantly improved the comfort of my wrists, even though the rotation angle was at a modest 10 degrees. I can now type all day without any sort of discomfort from my ulnar tunnel. My typing speed has also improved. On a good day I'm now able to type at about ~95 wpm on monkeytype with this board. This is roughly a ~10 wpm gain from the bunchiez40. I'm not entirely sure if this is due to the "ergonomics" of the pocket board, the new huano black mute switches I'm using, or because of the practice I've accumulated typing on these keys. In any case, this board is viable for everyday use, and I don't feel like it's much of a bottleneck in terms of converting my thoughts into keystrokes.
Ultimately I'm very happy I spent the time to learn how to make an ergonomic board. Not only does it give me more creative flexibility to make something comfortable and aesthetically pleasing, but I think with a bit more practice it can potentially speed up my current keyboard design workflow, just due to how easy it is to specify both PCB and case outlines in a single file.
Future Plans:
I think this keyboard is comfortable enough for me to daily drive (I'm currently using it to write this blog post), though I still think there can be room for improvement. In particular, I'd like the switches to be lower profile to reduce wrist extension. I'd also like to see if I can reduce the actuation force in an attempt to require less force when typing. The two biggest switches I'd like to experiment with as a resuilt would be the 4.3mm Huano/Kailh mute switch, as well as the Panasonic EVQPO/EVQQ2 SMD light touch switch.
I think either kind of switch should be slightly more comfortable, and the idea of using SMD switches is exciting, since it means I can put other components on the back of the PCB (such as a battery or the like).
Conclusion:
I had a lot of fun making the modkipz40, since it required me to learn basic wrist ergonomics and anatomy, as well as pick up the popular Ergogen tool that all the cool kids are using. There's some sort of irony that my tiny boards forced me to understand and appretiate the basics of keyboard ergonomics. I certainly plan to use Ergogen more for future projects, and I'm excited that there's still room for exploration with my pocket boards.
Acknowledgments:
Big thank you to BeeKeeb and kurihara for sponsoring me on Github and ko-fi. Your generous contributions help me to continue to experiment and iterate on weird new board designs like this, and allow me to continue to do what I love.